Activities, DIY, featured, Food, Parenting, Uncategorized

Toy Story

Being a single Mom can make it hard to plan and execute intricate dinners. Spare time is a hot commodity around here, so I like to have “backup plan” style Disney dinners that are a bit easier and require less from me. Thankfully, you can adjust movies and dinners to fit your time and budget. Be as fancy or low key as you want to be! I made it a personal rule that when I started doing these dinners, they were not going to be a source of stress. I was going to have as much fun preparing as we do watching and enjoying. If I am short on time, or just not that into it one week, I reach for an easy movie that allows me to sit back and relax more. As moms we ALL need those kind of dinner nights! That brings us to….TOY STORY!

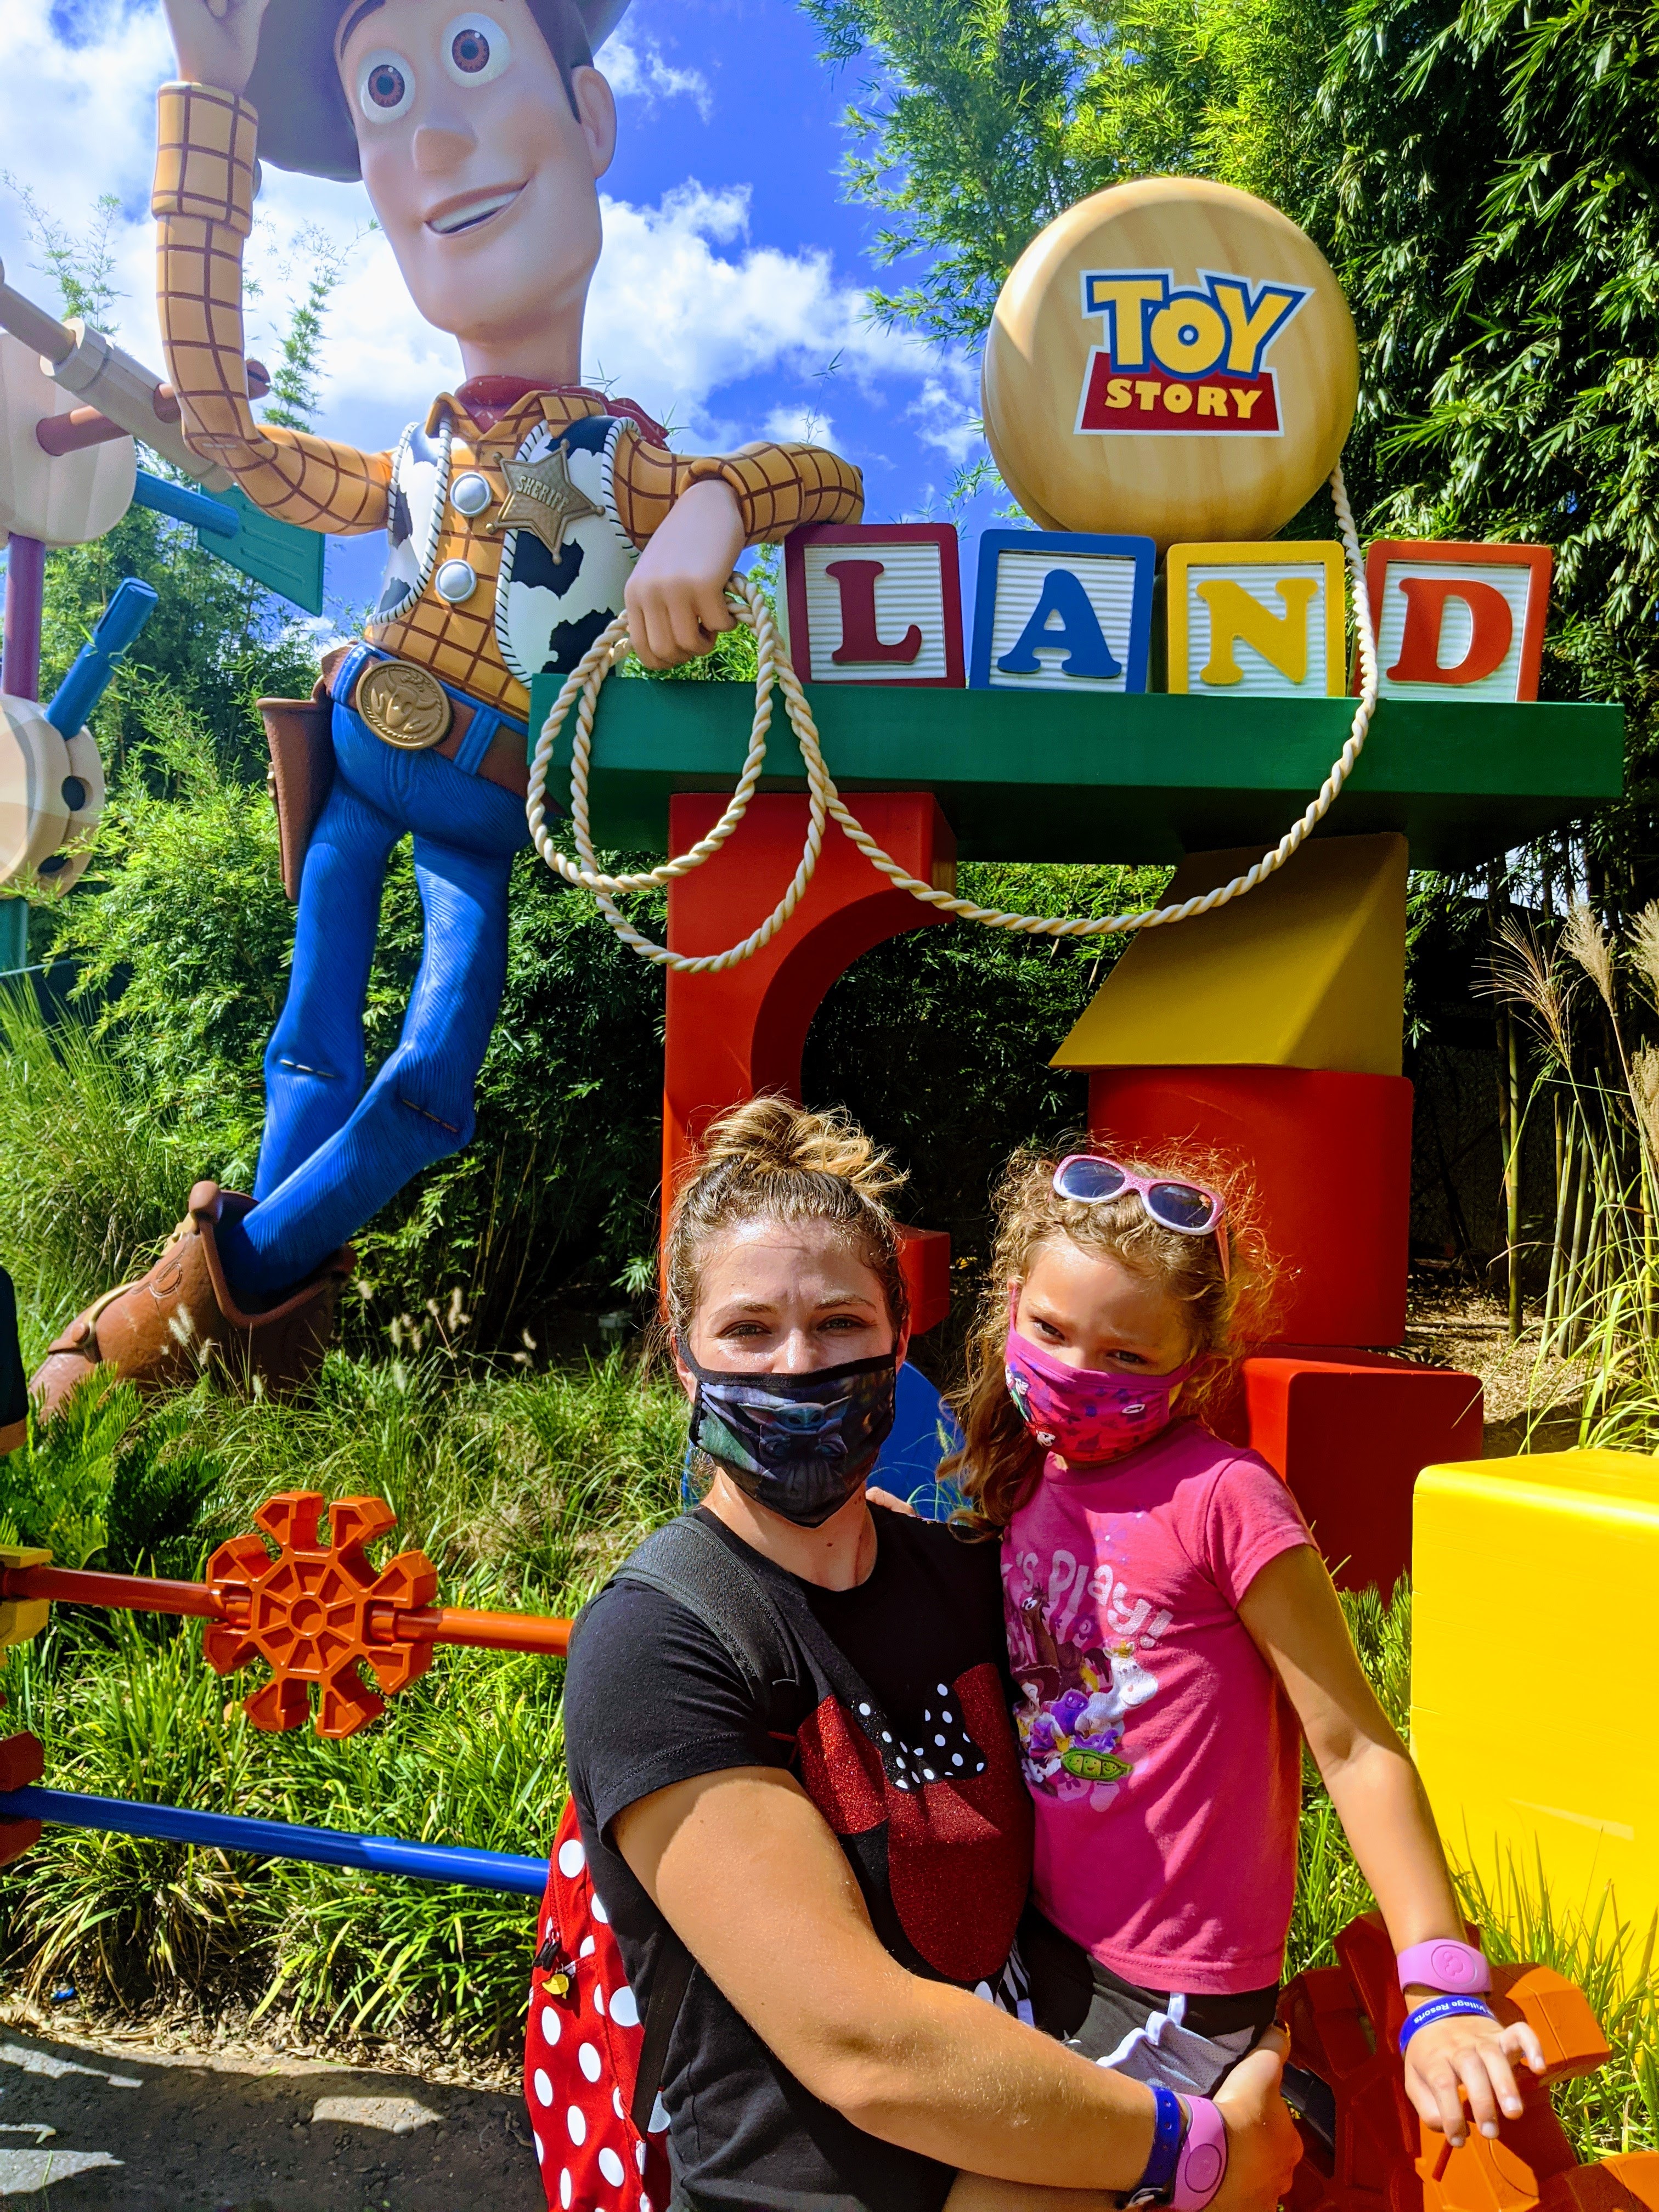
One of our FAVORITE places in the Disney parks is Toy Story Land in Hollywood Studios! The first time that I visited Disney was in high school. Way back then, Toy Story Land didn’t exist! When I got to go with my daughter, it was my first experience and I literally felt like a big kid!

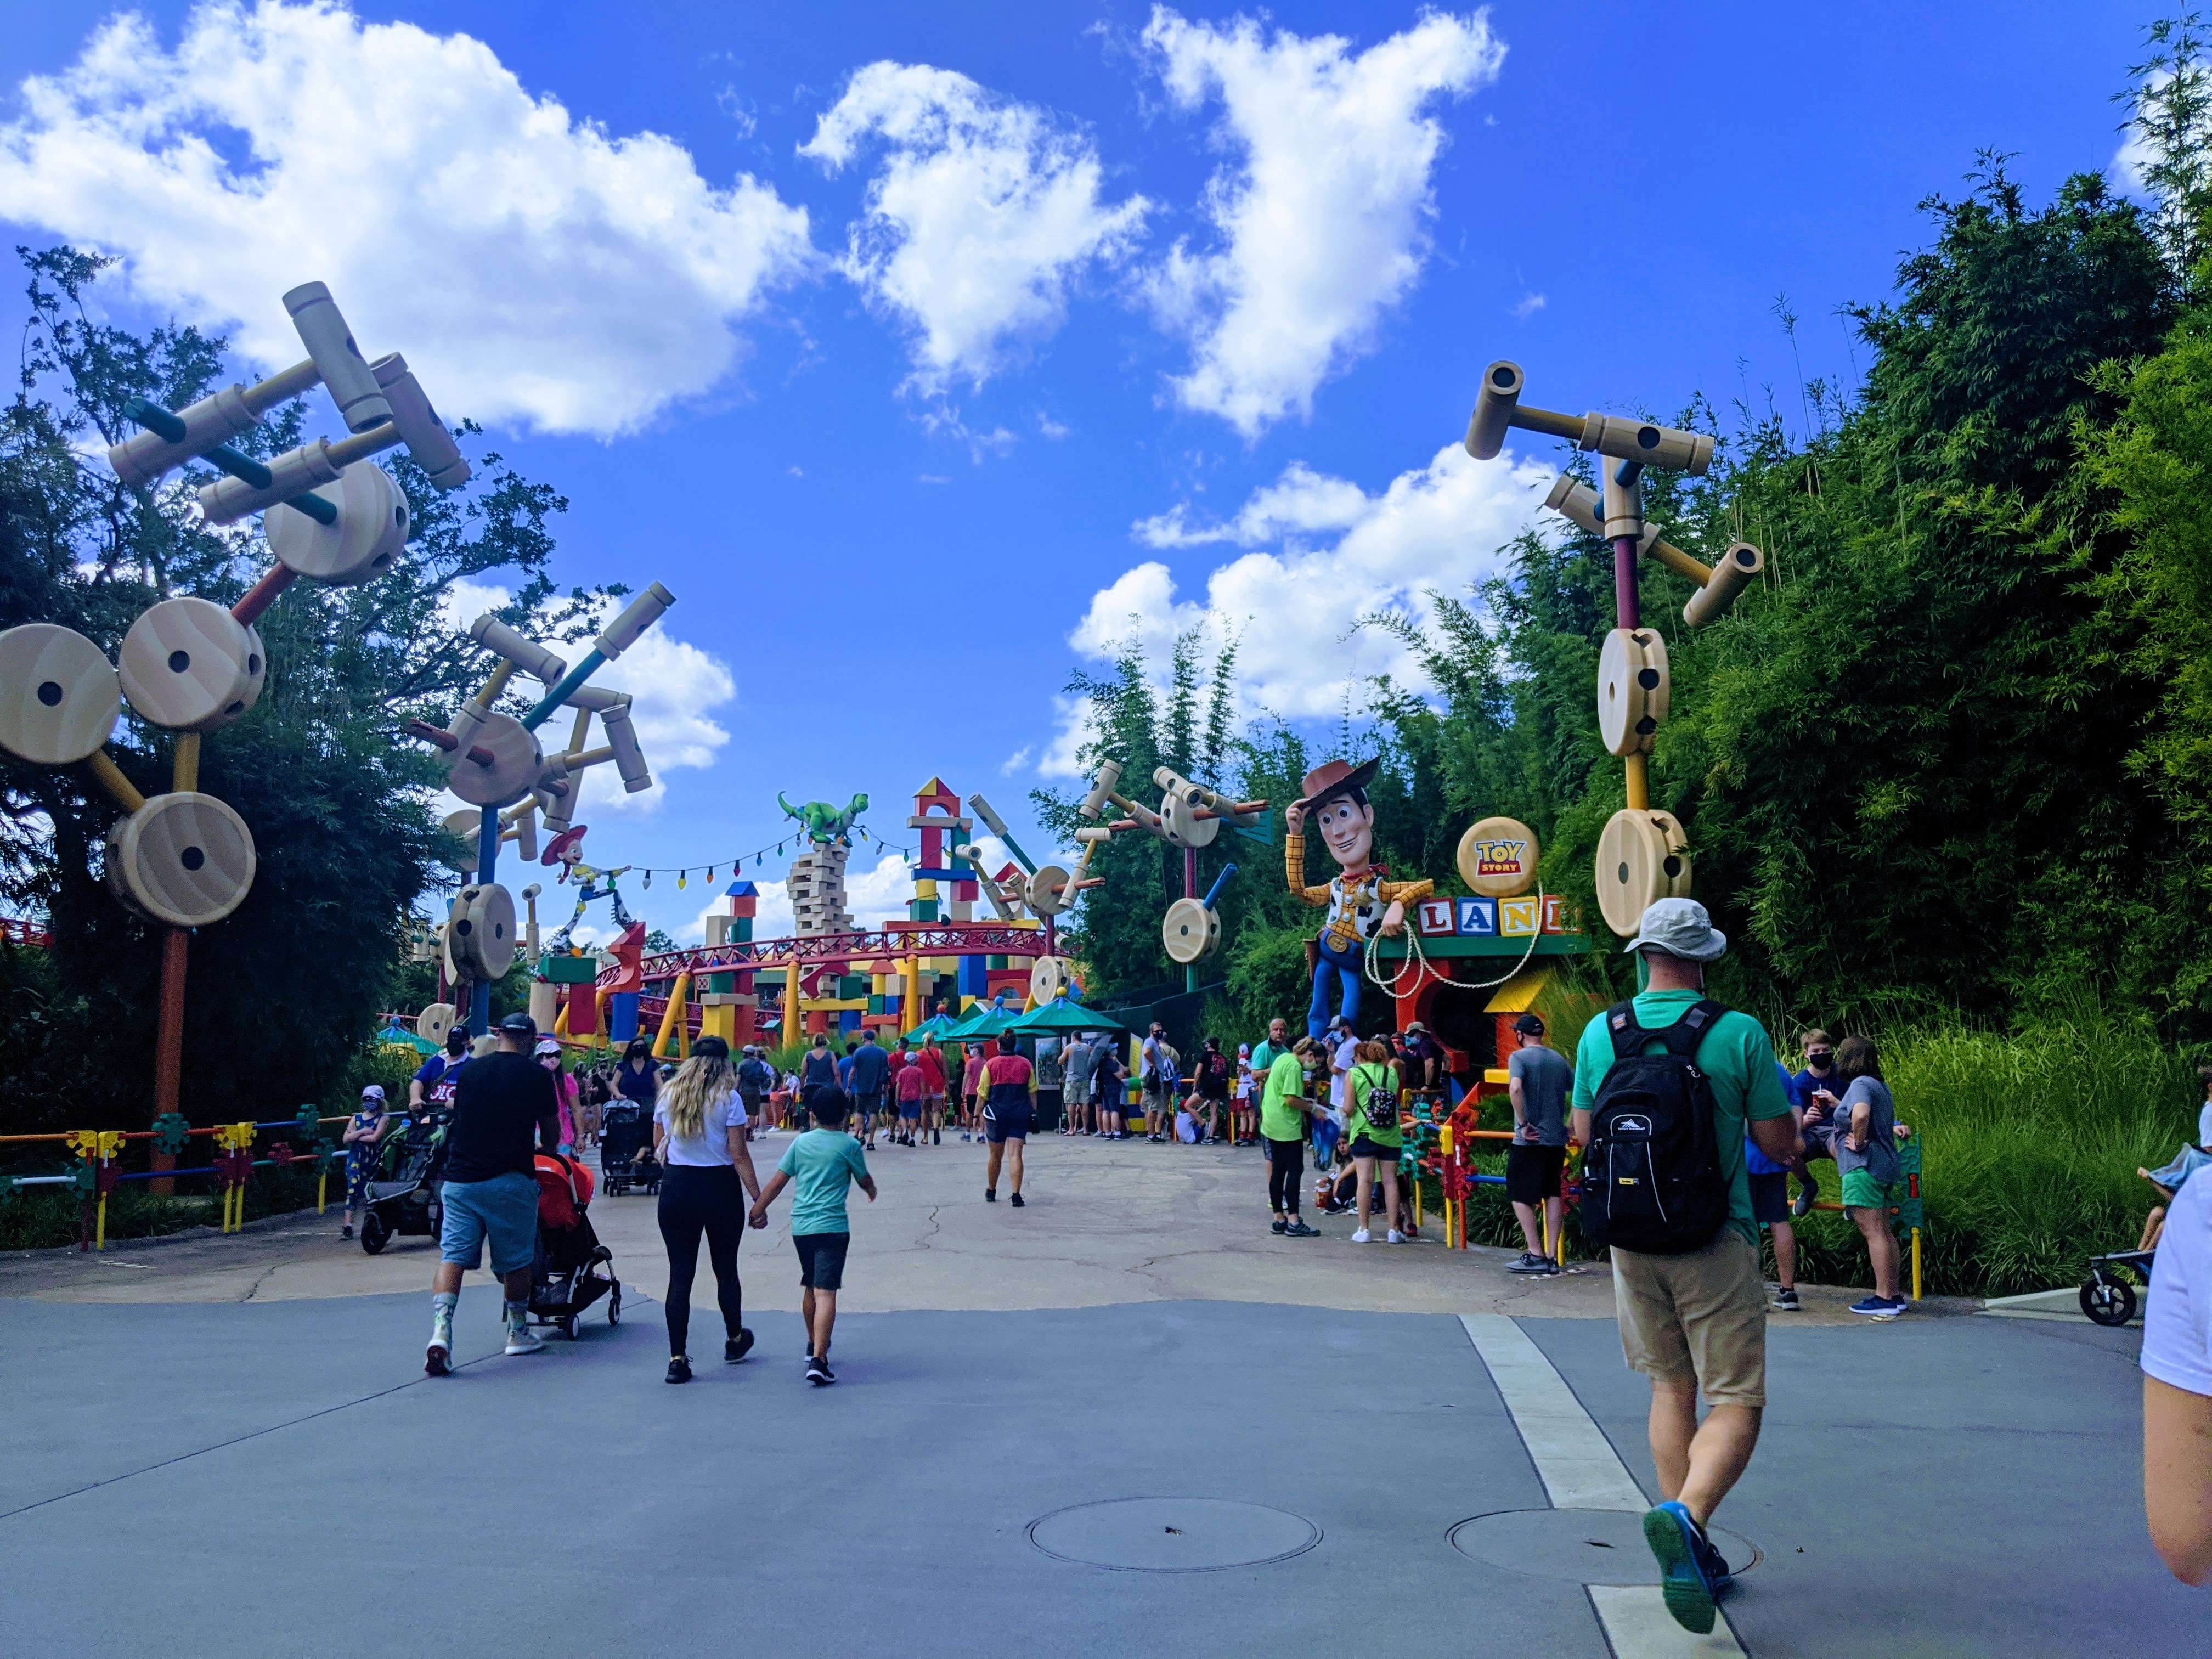
There are giant toy blocks, tinker toys, and parades of green army men. There is so much to do and look at! You literally feel like a toy! Our favorites from Toy Story Land were:

1- Slinky Dog Dash!!!!!

2- Toy Story Mania

3- I’m sure WOULD have been Woody’s Lunchbox (but it was closed due to COVID) Those pop tarts are high on my list for next trip!!!

Slinky Dog was SUCH a fun coaster and it really gives you the sensation that you’re really on a slinky! We rode it multiple times that day. My Mom (who is NOT a coaster fan) really liked it! No flips or crazy turns makes it great for kids and the less adventurous.

Toy Story Mania is another fun shooting game a lot like Buzz Lightyear’s Space Ranger Spin in Magic Kingdom. I like Toy Story Mania a lot more. I find it easier to shoot and less overwhelming than the Buzz ride, but both are certainly fun! (Plus the ride line for both of these rides is mostly indoors and in the AC!)

So how did we bring the magic of Toy Story home for Disney Dinner Night???

Repeat after me: Free printables from other awesome Mom bloggers

Visit http://www.thesuburbanmom.com for this Pizza Planet Printable! (And others!)

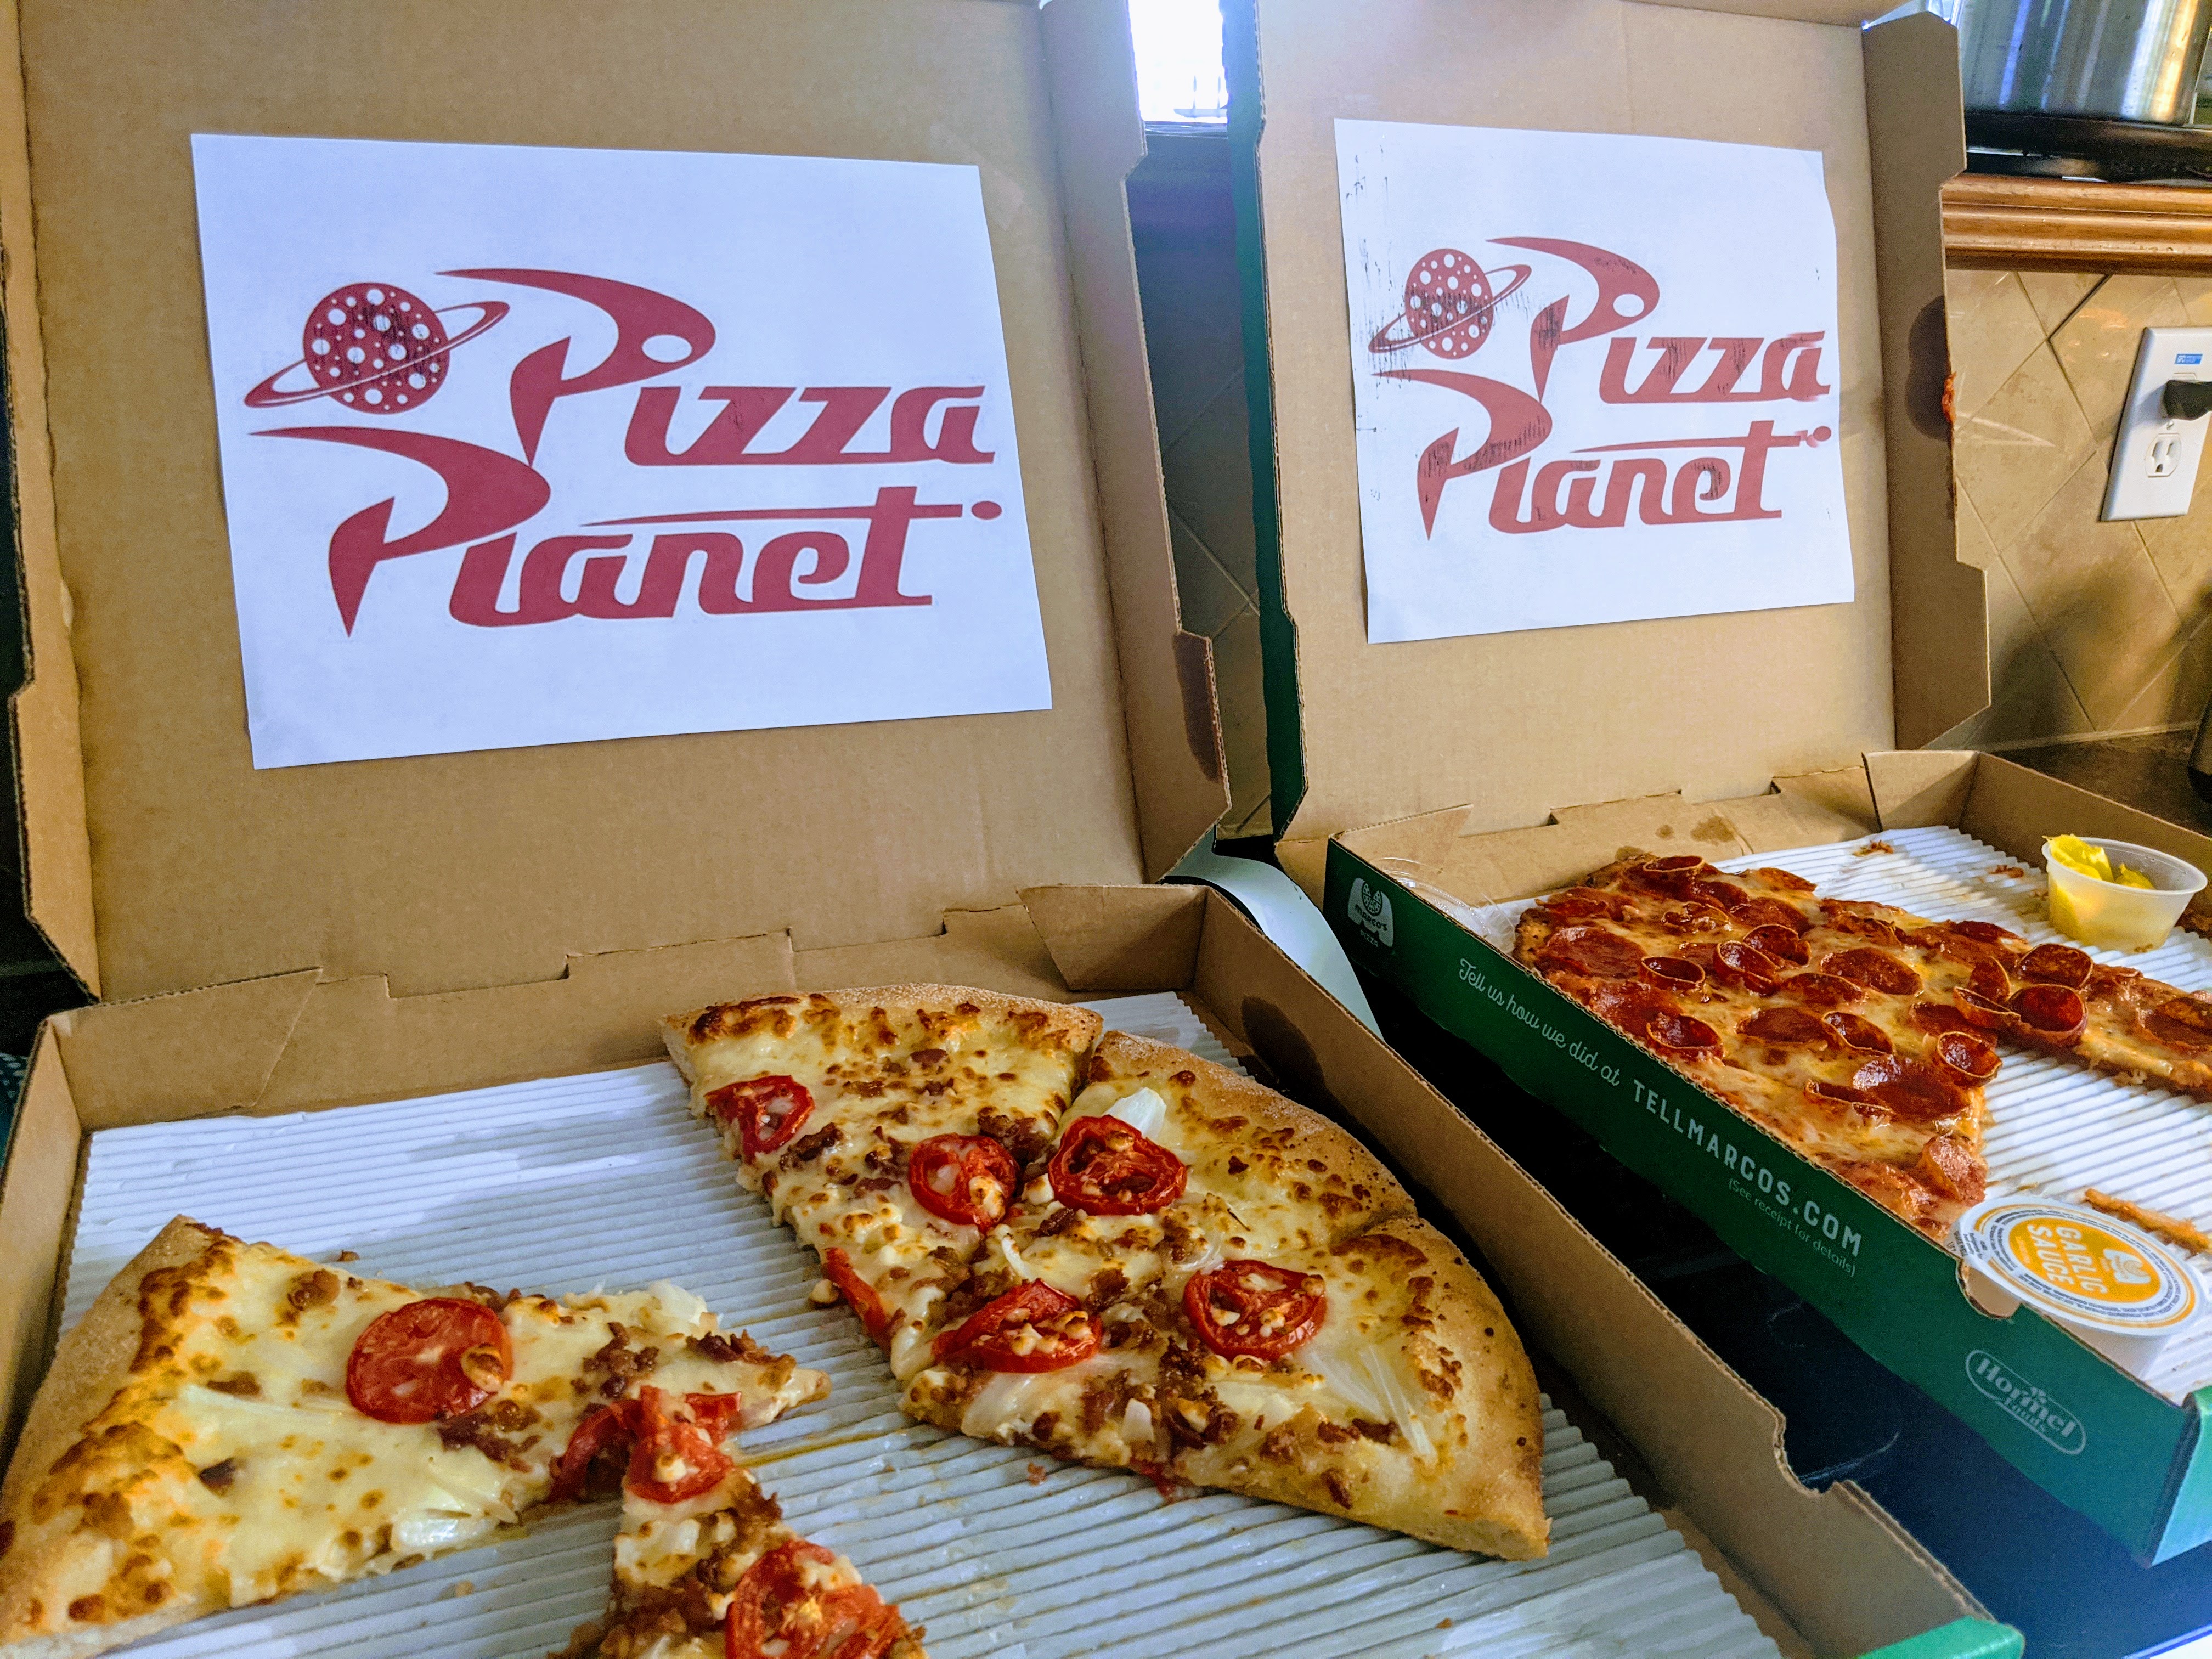
That’s right. I ordered pizza, and slapped a “Pizza Planet” printable on the box. BAM! Instant dinner. We also had other kid options like juice boxes and soda for the adults.

The day before, I had made time to bake some green cupcakes in blue foil wrappers. They had plenty of time to cool, and then the day of, I only had to frost and decorate them! To complete the alien cupcakes I just used food coloring to color store bought buttercream frosting, and piped it into big goopy alien piles. Add 3 little candy eyeballs and you’ve got alien cupcakes! AND the perfect setting for a Tiktok that was just asking to happen….

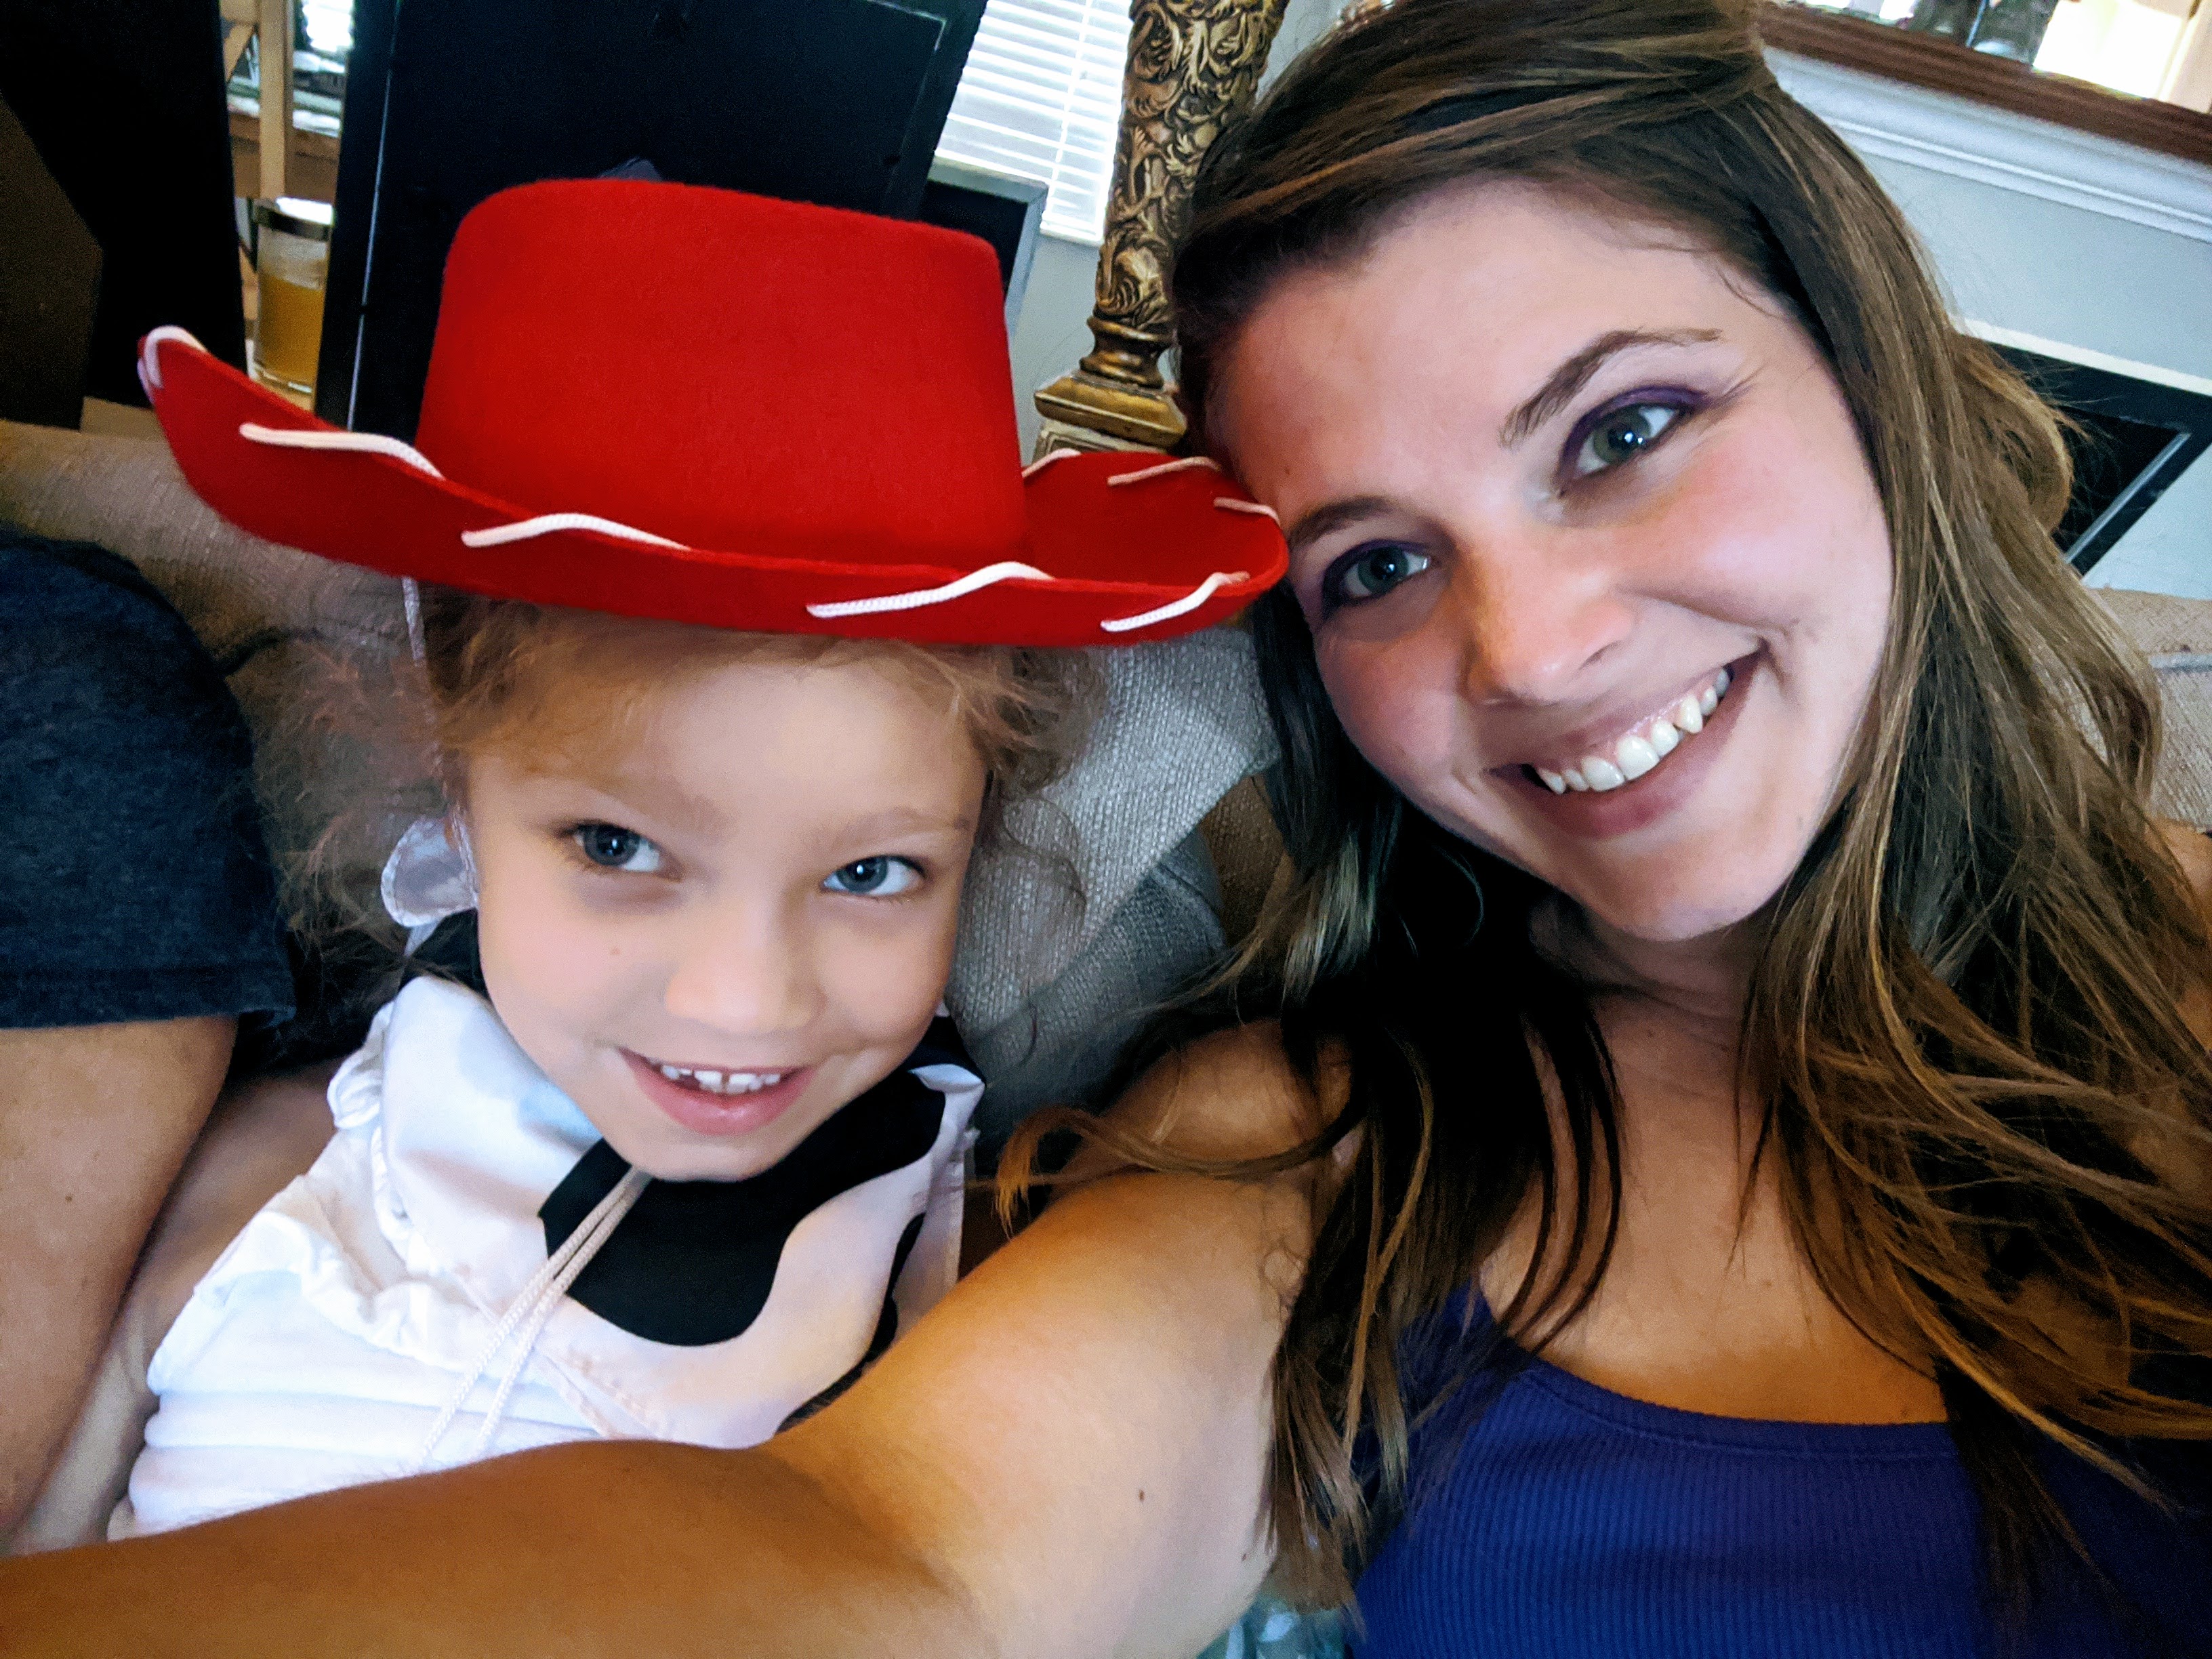
A year or two ago, Neyland had a dance show that used a costume loosely based off of “Jessie” from the later movies. We used that as Neyland’s outfit, and I dressed in lime green shorts and a purple tank top with purple eye shadow to be the Mom version of Buzz Lightyear!

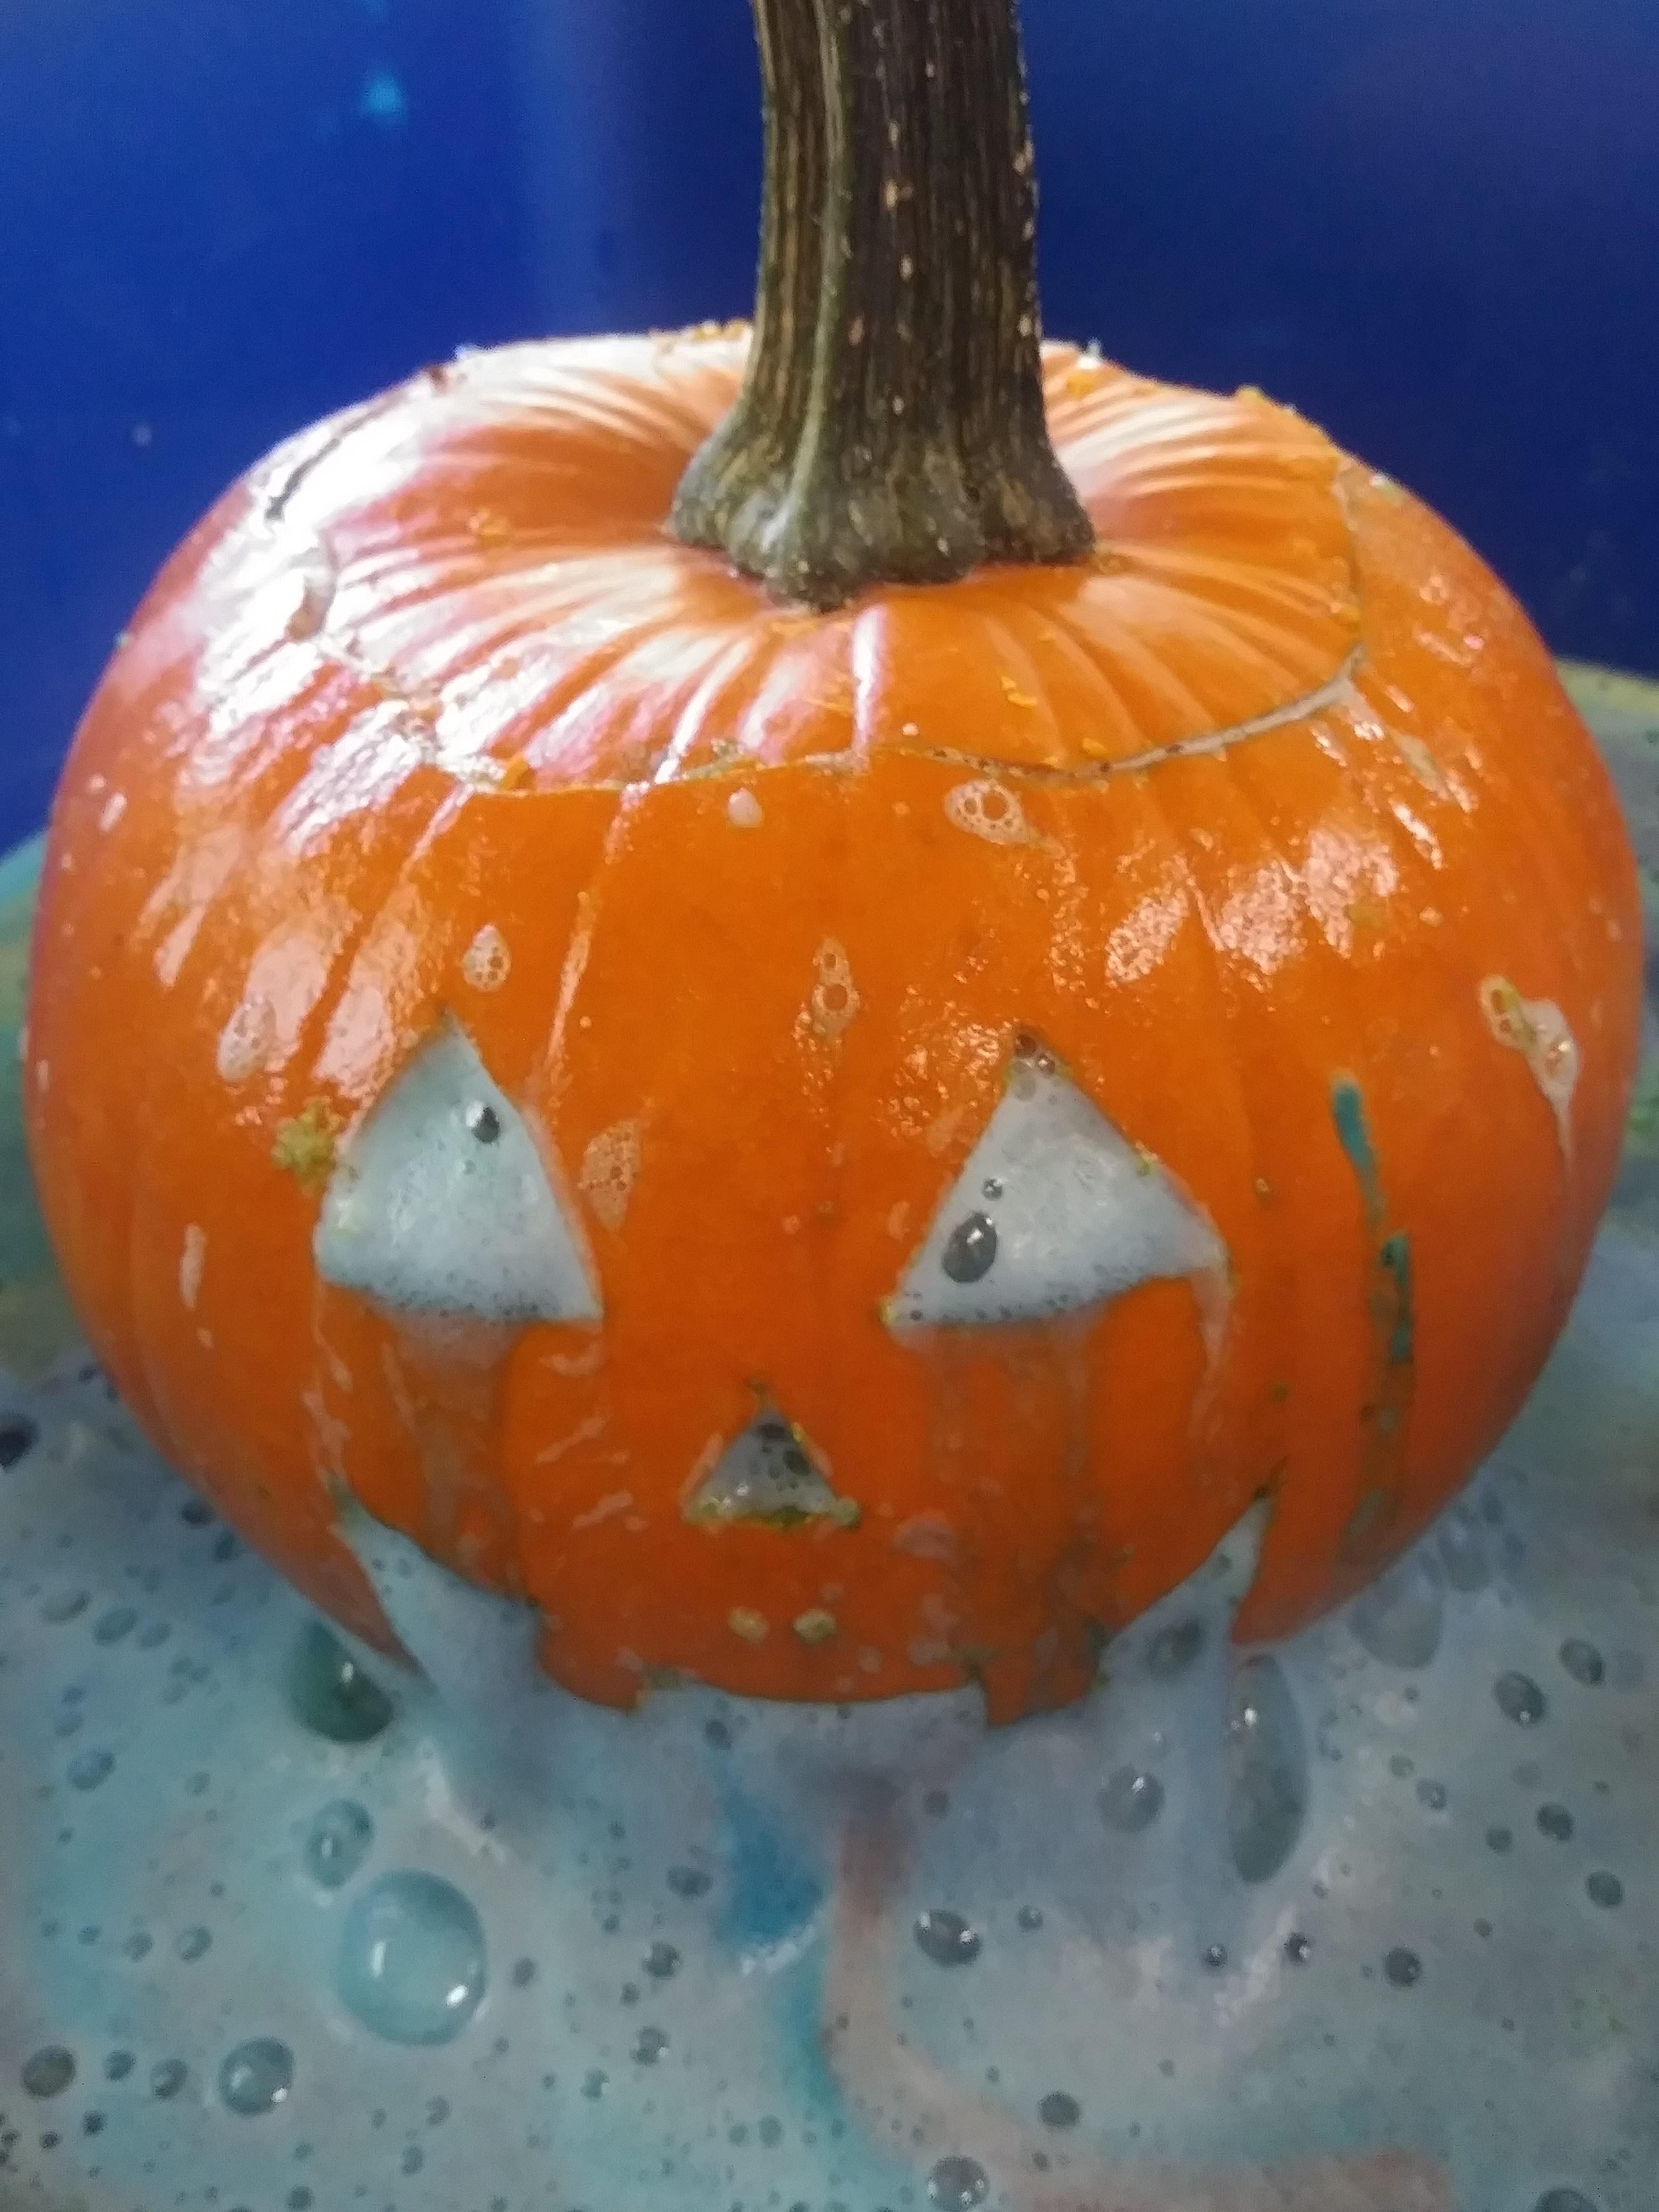
We decorated with wooden blocks, plastic army men, and tinker toys that we already had around the house and also elected to go out in the yard and make exploding soda with Mentos and Diet coke because that seemed like a fun “kid” activity. It was pretty entertaining seeing everyone run from the jet of soda shooting everywhere!

Overall this was a fun and relaxing dinner theme that really let me step back and enjoy. With all the pizza, toys, and cupcakes I felt like a kid again too!

Uncategorized

Tangled

110336303_292940598607035_6518792964209181705_n

Tangled has got to be one of our favorite Disney movies of recent years. *Personal Confession*- I think it’s way better than Frozen! (shhhh don’t tell)

We actually ended up using this particular movie TWICE for two separate Disney dinner nights. Our first Tangled theme was during a recent trip back home to New York! I still have 3 aunts that live in NewYork and it’s great to be able to get the family together. My family is originally from Germany, and I wanted to pay homage to our roots during our family gathering. We’ve done several German based dinners, as there are several German based Disney movies. German food is Neyland’s #1 favorite, so she’s all for any and all German themes. Tangled is actually set in the fictional kingdom of Corona (yet another reason we doubled down on this movie during this worldwide pandemic.) I have no clue what they might eat as traditional food items in a fictitious land, so we elected to go with the traditional origin of “Rapunzel” which is Germany!


During our NY Tangled night, we elected to do an “Oktoberfest” type theme. We took a trip to my FAVORITE store ever- ALDI! It is always an awesome place to find cool foods from different countries (especially German food since it is a German company!) You can generally find a good selection of bratwurst and knockwurst, which is what I chose to get. I have a friend who lived in Germany as a child, and he routinely throws some awesome Oktoberfest celebrations. Because of this, I am well versed in such festivities. I decided to make some curry wurst for our celebration, complete with homemade mayonnaise (making homemade mayo is another life skill I picked up from this same friend- DO IT…you’ll seriously never go back.) We also added in some delicious sauerkraut and fries for good measure. Since Rapunzel is also pictured making homemade pie while locked in her tower, I figured we could end the night with that.

During our visit to Disney, I got Neyland a Cinderella dress at the Bibbity Bobbity Boutique. But I also fell completely in love with Rapunzel’s dress and ended up ordering it for her for Christmas. She wore her gorgeous dress and let me braid her hair and then we picked wildflowers to decorate her braid! I didn’t have a fun princess dress, but I do have a fun outfit for Oktoberfest, so I brought that along. I connected my Mom’s new bluetooth speaker and popped on some fun Oktoberfest tunes and the mood was set! We even played games like she does when she’s trapped in her tower!

I gently pan grilled/steamed the brats and knockwursts and used my Mom’s new air fryer for the fries. Once done, I sliced up the sausages and served with fries and the homemade mayo (check out the recipe below)  with a generous sprinkling of curry powder. We also had some grainy German mustard available for dipping.

After dinner and some dancing, we watched Tangled and had our delicious homemade pie! We ended up making a mixed berry rhubarb pie. It was tangy and tart and absolutely perfect. I was able to call my Grandma in TN to obtain her OH SO PERFECT pie crust recipe.

82825897_577136079604677_2715595318887448576_n

New York Recipes

Homemade Mayonnaise

  • 1 whole egg, plus one extra yolk
  • 1 tsp granulated garlic
  • 1 tsp dijon mustard
  • juice of half a lemon
  • 2 cups extra light olive oil or avocado oil
  • kosher salt to taste

Step 1- Add eggs(room temp is best), garlic, dijon, and lemon juice to a food processor 

Step 2- Turn on the processor and slowly drizzle in the oil, or add it in small batches to ensure it emulsifies. Don’t add it too quickly. The mixture should appear nice and creamy.

Step 3- Test the flavor and add salt as desired.

Store in the fridge. This mayo can last 2-3 weeks.

Grandma’s Perfect Pie Crust

Sorry kids! This one is a family secret!


When we got back home, a few months passed before Neyland’s birthday. Seriously- HOW IS THIS CHILD 6?!?!?


I generally throw a big birthday bash for her, but in 2020 with all the COVID-19 craziness, we decided to just do something small and go on a private trip instead. Instead, we decided to revisit Tangled since her birthday fell on Disney dinner Tuesday. As previously mentioned, German cuisine is her absolute favorite, so I knew it would be a hit. I was able to procure some pork schnitzel for the event. Her favorite way to eat it is pan fried with a squeeze of lemon with a side of pickled red cabbage. We also had some more German sausages. I also recycled some decor she had from a previous princess party. In this case, a super cheap and easy decoration consisting of long yellow plastic table cloths (they’re like $0.99 at Walmart.) I bought several and cut them into thirds lengthwise. After cutting, I braided them into a SUPER long golden braid and draped it ALL OVER the house. We ate our yummy dinner, watched our movie, dressed up, opened gifts, built Legos, and ended the night with real fire lanterns! I wanted to do something super special since it was her actual birthday. Since Rapunzel’s parents release floating lanterns every year on her birthday, I thought this would be a perfect opportunity to do the same! I purchased a pack of 5 from Amazon. If you’re interested, you can find them here. The ones we got were tethered to a kite line, and the materials used to make the lanterns is supposed to be flame resistant. They come pre-assembled, and were relatively easy to get going. I’d highly recommend you tether these guys. We set these guys up in our side yard, and if they weren’t connected they would have been long gone. I was really worried that they would land on a neighbor’s house or something, but with the nifty string, we were able to control them easily.


110336303_292940598607035_6518792964209181705_n

This was seriously magical. We had so many neighbors and random cars stop just to watch these beautiful lanterns float through the night sky.

Our Tennessee Tangled Dinner

If you decide to get “tangled” up in the Disney dinner life, drop me a comment and let me know what you did!

Activities, featured, Parenting

Pumpkin Potion

Pumpkin (2)

1018181204b

It’s no secret that I’m OBSESSED with the holidays. This time of year, I look for any excuse to merge my every day life with the upcoming holidays. I also find myself being insanely busy! I try to squeeze in so many fun fall activities (because it IS my favorite time of year) that I literally would fall apart without my google calendar to keep me straight!

This week, for our “science experiment Tuesday,” I merged Science with fall for this super fun pumpkin potion experiment. This is a classic experiment with a fun fall twist that is entertaining for all age groups. I did this activity with a few kiddos of different ages this week, and all were pretty thrilled with it.

The good news? You probably have most of this stuff hanging around your house already. Simplicity is definitely a plus for busy Mamas! So what do you need?

Supplies (1).jpg

Step 1

You’re going to channel all of your inner fall energy and carve your adorable baby pumpkin! You can carve any design that you like. I chose to put a traditional face on our pumpkin, but I would say that any design that features many small shapes or holes would be super fun. We also used this time to play in pumpkin guts….because it just has to be done, and sort out all the pumpkin seeds for baking!

I used a cleaning pan to do this entire experiment in to contain the mess. I would HIGHLY recommend that you do the same!

1018181136

A happy little pumpkin face!

Step 2

Now that your pumpkin is carved, it’s time to get to work on the potion. The potion is a super simple science experiment that involves a bubbling reaction when you combine vinegar and baking soda. To make it more visually exciting for the kiddos, here is what I recommend.

Get a small/clear plastic cup that can be cut to fit into the pumpkin. This cup will hold the ingredients for the reaction….ya know, since our pumpkin has face holes.

1018181146

1018181146a

Make sure that it can fit inside without much extra space, but ensure that the lid of the pumpkin can still fit on as well.

Step 3

Fill the cup 3/4 way full with the vinegar and set it down inside the pumpkin.

Step 4

This is the time where you can really be creative with your potion. We want to add a good squirt of dish soap so that it will get REALLY bubbly. I also add some food coloring at this point. We generally run this experiment through a few times, so there will be an opportunity to do more than one color. I generally let each kiddo pick one color, or a combination of colors to add. You can also add glitter or confetti stars to make your potion super special. Once you have all your “add ins” in the cup, use one of the spoons (from this point forward, this will be your “wet spoon”) and gently stir the vinegar mixture.

1018181148

Step 5

This step is when all the magic happens. I let my little one take control of the “wet spoon” so that she can stir the potion as I add the “secret ingredient” aka baking soda. I use the “dry spoon” and add a heaping spoonful of baking soda to the vinegar mixture and allow Neyland to stir it up for a few seconds before putting the lid on the pumpkin and watching potion gush out of it’s mouth and eyes!

We hope you and your kiddos have as much fun as we did with this! Have any other fun fall activities or ideas?? Drop them in the comments!


Activities, attractions, Food

GreekFest 2018

0928181910

So a few weeks ago, we got to take part in one of my favorite yearly activities- GREEKFEST! If you’ve never been, add this to your yearly calendar! It is a good time for all ages!

I am always down for some delicious Greek food and dancing! This year, we tried a few new food items. Pastichio is a pasta dish that was somewhat similar to lasagna, and quite tasty. We also enjoyed some stuffed grape leaves (Dolmades) and Saganaki! The saganaki ended up being my new favorite. It is basically cheese that has been fried in Brandy so that it has a golden crispy exterior, while the inside remains gooey and delicious. They then slide this on a piece of crusty bread, and hit it with a little squeeze of lemon juice. YUM!

0928181955

If it looks like I was sitting in a random patch of grass close to the dumpsters, it’s only because I was. It was so crowded, there was NO PLACE to sit. We enjoyed our delicious food picnic style.

After eating, we watched all the dancing shows. I seriously don’t know how all those kids do that all day long. What a work out!

As soon as the shows were done, Neyland had to get in on the action and hit the dance floor.

Last year, I purchased Neyland one of the “jingle skirt” wraps that all the dancers wear. She was stoked to wear it to the festival this year, and has even worn it to dance class quite a few times. She felt quite “authentic” on the dance floor.

After trying out our Greek dancing skills, we hit up my personal favorite area- “The Wall-o- Baklava.” Ok, it’s really more than just baklava. It’s an entire wall of delicious Greek baked goodies. We got a lovely assorted box for the road.

0928182117

If you’ve never been to Greekfest, I highly recommend that you visit next year!

Check out their website HERE

You can thank me later! 😀

featured, Food, Parenting

Spaghetti Ice Cream

Spaghetti Ice Cream

Months ago, a picture scrolled across my newsfeed of what appeared to be spaghetti….upon examining the post closer, I was surprised to learn that it was actually ice cream! I thought it was such a cute idea, and I made a mental note that I wanted to try it sometime. Fast forward to this past weekend, when another image of alluring spaghetti ice cream scrolls across my phone screen. I decided to do some research about this dish, and try to make my own!

Cool things I learned: This ice cream dish is actually German! I wouldn’t have guessed that, but it worked out well for me since I decided to try it out on a friend who spent several years in Germany! If it isn’t obvious, this is a GREAT dessert option for kids! They are pretty stoked about ice cream that looks like spaghetti! Let’s get down to the details about how to pull this off in your own home so that you too can impress German friends and children alike!

Items You’ll Need:

0911181827.jpg

This crazy looking tool is a “potato ricer.” I got this bad boy from my Grandmother many years ago. I pushed it to the back of a drawer with no intentions of ever using it. I could not foresee a recipe that I would ever make that would require such a tool. I’m thankful for once, for my inability to part with things. I will say that it is preferred for this recipe, to have a ricer that has holes only on the bottom, but I was able to place a layer of packing tape around the sides to prevent leakage. It worked well, and got the job done. If you don’t have an ancient potato ricer that your Grandmother left to you, these guys are also available on Amazon. There are a lot of options out there, but HERE is a fairly cheap one.

0911181826_Burst01.jpg

The “meatballs” in this recipe are optional. There are also a variety of options that you can use to make them. I baked a batch of brownies the night before. Once they were cooled completely, I shaped them into small balls with my hands. I’ve also seen people use Ferrero Rocher candies, and even small scoops of chocolate ice cream.

0911181828.jpg

You’ll also need some frozen whipped topping. Use a small to medium sized scoop in the middle of your plate FIRST. This creates height & some extra flavor. I have been advised that an unsweetened cream version is the most authentic.

A bar of white chocolate can be grated using a standard cheese grater to give the appearance of “Parmesan cheese.”

0911181833.jpg

This was our finished product. It doesn’t take much, but adds a great visual detail to the dish.

0911181826.jpg

You’ll also want to have a strawberry sauce to use as the “marinara” for the spaghetti. I made a homemade sauce that was super easy and really good. I’ll include the recipe below. If you don’t want to make your own, you can purchase a pre-made version, or even warm up strawberry jam if you’re in a pinch!

Strawberry Sauce

  • 1 lb fresh strawberries (De-stemmed and chopped)
  • 1/3 cup Sugar
  • Fresh lemon juice (juice from 1/2 a lemon)

Combine all ingredients in a medium sauce pan over medium heat. Allow it to come to a boil. Reduce heat and allow to simmer for ~20-30 minutes. Let it cool in the refrigerator for a few hours or overnight. It will continue to thicken as it cools.

*I also used my immersion blender briefly to make it less chunky.*

0911181835.jpg

Finally, you’ll need some delicious vanilla ice cream or gelato. The most important things here are to get an ice cream free from chunky additives. Chocolate chips aren’t going to squeeze through that ricer. Additives also take away from the visual that we are going for here. The other important thing is to allow your ice cream to sit at room temperature to soften a bit. If it is fully frozen, it does not squeeze through the ricer well. The soft ice cream actually holds it’s shape better


0911181837.jpg

Now that we have everything we need, let’s discuss putting it together!

Directions

  • The number one tip I have is to freeze the plate that you will be making your spaghetti on. I placed my plate in a few hours before so it would be nice and cold.
  • After your plate is cold, scoop a small to medium size scoop of frozen whipped topping onto the frozen plate.
  • Next (using a separate plate) place the ricer on this plate so you can scoop the softened ice cream into it. You will certainly get some leaking and melting (hence the extra plate to catch the mess.) You’ll want to put a pretty large amount of ice cream in there.
  • Now that the ricer is full, pick it up and squeeze it out over top of your frozen whipped topping on the frozen plate.
  • Use a knife or spoon to scrape the bottom of the ricer and release the end of the “noodles.”
  • Next, cover the “noodles” in your strawberry sauce
  • If you are using “meatballs,” place them now
  • Finally, sprinkle the white chocolate “Parmesan cheese” over the top to complete your dish!
  • Get some pics and enjoy immediately!

0911181849b.jpg

I still plan to visit the restaurant that was featured in the original post!

You can check out their menu HERE.

I hope you and your kiddos enjoy this as much as we did!

Activities, featured, Parenting

Leaf Rubbings

LeafRubbings

It’s officially September! What does that mean??? It means that I can now shamelessly put up all my fall and Halloween decor without feeling guilty or embarrassing my neighbors! It means that I am now in full fledged “fall mode” despite the fact that it is still sweltering outside! Check out this little sneak peak of our fall mantle this year…

0904181118.jpg

I think it’s interesting that as a child, fall was my least favorite season. I’m certain this had something to do with school starting, and summer being over. As an adult, I simply adore the chilly air, the beautiful colors, fun recipes, and tons of holiday activities. As an adult, fall is now my absolute favorite time of year. I LOVE any excuse to decorate, and fall marks the beginning of “decorating season.” A mantle is a blank slate just waiting to be transformed. I used to be a purist when it came to fall decor. I never decorated with anything “Halloween themed.”I stuck with pumpkins, corn stalks, and hay bales.  I’ve always been under the opinion that Halloween decor was fake looking and somewhat “trashy.”  In the past few years, I’ve grown to appreciate the addition of a few Halloween pieces to my own decor. I think i prefer simple and more classic looking Halloween decor for my own home, but I’m open to anything that’s done up right! Here I utilized dried birch branches offset at different heights on the left. I also purchased some cut out bats a few years ago from Big Lots. I always stick them to the walls and decor on the mantle to add some depth. They are also waterproof and I use them outside on my porch as well. I have a few old windows and pictures that I rotate on the mantle throughout the year. I generally pick the oldest & spookiest looking window for this time of year. The rest of the decor was picked up during yard sales, and post holiday sales. I always keep an eye out for things even out of season to score a great price!

After decorating, I let Neyland chose our project this week. She chose to do leaf rubbings! This is one of our favorite fall activities, although we actually do it several times throughout the year. It’s also a nice way to get some “fall artwork” up in your home!

We started out by venturing out in our yard to collect some cool looking leaves. You’ll want to take the time to pick ones that have super cool patterns and shapes. Here are the ones that we chose.

0904181245c.jpg

0904181245a.jpg

If you can’t tell from the picture, she was pretty excited about this!

After you get your leaves, you’ll need a few sheets of white paper, some crayons, and a smooth surface. Let your little one pick a few leaves and place them on a sheet of paper. Next, place another sheet on top of the leaves and use a crayon to “rub” the pattern of the leaf onto the paper.

0904181250.jpg

0904181250b.jpg

0904181251a.jpg

You may want to help your kiddos hold the paper nice and still. Mine has a tendency to move the top paper around and lose her place on her leaf.

0904181258b.jpg

Check out our finished products!

0904181306_Burst01.jpg

We also took the time to identify and label what types of leaves we had collected and colored. She enjoyed learning that maple syrup actually comes from maple trees! Now we have some nice fall themed artwork to hang up in our home! Yay fall!!!

Activities, attractions, Parenting, Trips

The Lost Sea


The_Lost_Sea1
Photo Cred: http://www.guideoftravels.com/the-lost-sea/

I don’t know if you guys have noticed, but it’s been pretty hot outside as of late. Whenever it gets like this, I have a hard time getting motivated to go outside and find fun activities for us to do. In these temps, a cool 58 degrees sounds heavenly to this gal. Thankfully, we have some AMAZING natural attractions right in our own backyard that offer these steady year round temps!

Recently, Neyland and I visited The Lost Sea. It has been years since I visited this cave, and it seemed like a great time to take Neyland! A big cave system offers a great place to “hike” in cool temps, and provides a ton of educational experiences for little ones. The Lost Sea has a great history that includes use by local Native Americans, soldiers during the civil war, and even a prehistoric lion! It is the largest underground body of water in the US, and the second largest in the world! The “sea” itself hasn’t even been fully explored! The tour includes a guided trip through the cave, lots of history and info about the cave, and a boat ride on the sea! If you live in the area, I highly recommend this little day trip! It’s a perfect activity when it’s really hot OR really cold!

Check their website for hours and prices here: The Lost Sea Adventure

0805181349a.jpg

The entrance to the cave looks daunting! The temperature drops pretty rapidly! (I would recommend a jacket.)

0805181305a.jpg

Some of the rock pools heading down toward the room where the sea is located in. It is really interesting that there is only ONE visible source of incoming water in the cave, though there must be many. The water in the sea empties out into multiple surrounding bodies of water, but those passages have never been located or explored!

0805181239.jpg

The “main room” of the cave is absolutely massive. Pictures don’t do it justice.

0805181345.jpg

This formation is known as “the bear’s paw.” If you hug it, you’re supposed to have good luck! Neyland didn’t care much about “good luck,” she just wanted to hug the paw!

Her favorite parts were:

-Hearing about the prehistoric lion

-The boat ride

-Feeling the water

-Seeing the HUGE trout in the lake

I thought I would also point out that the last time that I was at The Lost Sea, I did one of the wild cave tours. That is where they take you on a much longer “behind the scenes” tour through the cave. There are a BUNCH of cool areas within the cave to explore. Most notably, I remember “The Meat Grinder.” As it’s name suggests, it’s a tiny space you have to crawl through. I will advise you to wear old clothes and shoes as you will be COVERED in clay and mud, but it is absolutely worth it! I highly recommend this tour for older kids!

What cool attractions have you visited lately?

Activities, featured, Parenting

What Makes Leaves Green?

What Makes

Our Science Experiment Tuesday was postponed this week due to some pressing engagements. We were both pretty bummed about missing our weekly activity, so we held our first ever Science Experiment *Thursday* at my Grandmother’s house! This wasn’t an experiment that I planned on, so I didn’t bring any supplies…Thankfully Grandmas are ALWAYS prepared for any emergency, including scientific experimentation! (Seriously though- My Grandma could probably set a broken bone, mend some pants, lend you a toothbrush, and provide you a coupon to any restaurant, simply with the supplies in her purse!)

We’ve been focusing on plants a lot lately since summer is drawing to a close, and we’ll soon see the leaves beginning to change. I decided to focus this experiment on what exactly makes plants green. As adults, we know that this is chlorophyll. But how can we extract the chlorophyll from the leaf so that curious eyes can see it?

I remember doing this activity as a kid. If I’m not mistaken, I learned about it on a children’s science program on tv. It must have been pretty cool to stick with me all these years! It is fairly easy, and uses supplies that you probably already have at home! If you can’t already tell, it’s great for a quick unplanned activity.

Supplies(1)

0830181209.jpg

Step 1

Take your little one outside and collect your leaves. (Please don’t skip this step!) It is great to let them look at all the different shapes and textures of leaves in their very own yard! As you can see, Neyland chose a variety of shapes and sizes. We even found a “lamb’s ear” leaf (See title photo) that was fuzzy and super soft!

0830181211.jpg

Step 2

Use the scissors and cut a long thin strip of your napkin/toilet paper. It needs to be taller than the glass that you are using, and about twice the width of the pencil. The most important thing is that you are using a WHITE piece of toilet paper or napkin. We need it to be nice and white for the green chlorophyll to stand out.

0830181213.jpg

Step 3

Snip up the leaves into tiny pieces and place them into the clear glass. If your little one is old enough to use scissors, this is also a GREAT fine motor skill for them! We basically need to get to the inside of the leaf where the chlorophyll is contained. The more of the “inside of the leaf” you expose, the easier this will be. I chose to grind up the leaf bits with the flat handle of a screwdriver after Neyland cut them up, just to make sure we wouldn’t have any trouble.

0830181221a.jpg

0830181224.jpg

Step 4

Add enough finger nail polish remover to barely cover the leaves. We want enough to mix the leaves up into a little “leaf soup.”

*Remember that nail polish remover is highly flammable – do this in a safe location*

0830181224a.jpg

Step 5

Lay out your strip of napkin/TP. Place your pencil at the top of the strip. Use a tiny piece of tape to secure the strip to the middle of the pencil, and roll up the strip around the pencil a few times. The pencil will sit across the top of the glass allowing the paper to dangle down into the “leaf soup.” Use the pencil to shorten or lengthen the paper to the appropriate length for your glass. It should look like…..

0830181225.jpg

Step 6

The paper should be touching the “leaf soup.” The nail polish remover will draw the chlorophyll out of the smashed leaves and it will “wick” up the white paper. While you can see some movement & color change right away, it is far more dramatic if you let it sit for a few hours.

0830181521.jpg

The finished product is pictured above.

We discussed how the chlorophyll uses the sun to make energy for the plant. This is why a plant’s leaves are wide and stretched out toward the sun. We also discussed that the leaves will soon be changing and eventually fall off of the trees because the days will be shorter & there won’t be much sun for energy.

I can’t wait to take this line of learning full circle as we continue to watch what happens to the trees and plants this fall and winter!

Activities, featured, Parenting

Candy Cooking

Candy Cooking

Backup plans. They are important things to have. You probably never thought you would need them as a parent, but they are ever so helpful. We all know that parenting doesn’t always go as planned. You can plan events and activities with the utmost precision, but things happen & inevitably something will go awry. I like to keep a “mental list” of contingency plans for such situations. If I’ve specifically promised my daughter an exciting activity and the weather doesn’t cooperate, I can quickly pull out an appropriate substitute plan. One gadget that I keep around for tons of fun at the drop of a hat is the Poppin’ cookin’ Japanese candy cooking sets. These little kits don’t take up much space, they have a crazy long shelf life, and only require water to get started!

IMG_20180816_142339_778.jpg
Neyland mixing the “dough” for the dumplings and spring rolls

Each set comes with a little plastic tray with a variety of different sections for mixing and shaping the different parts of the dish you’re making. It also comes with a bunch of packets of different colored powder. The directions are pretty simple- Add water to the different packets. The amount and location you should mix them are all found on the directions. Depending on your kit, you may then take the resulting “dough” or liquid and place it in a separate area to shape it. The “ramen” kit we were making here, also had accompanying “spring rolls” and “dumplings.” The packaging even doubles as an area to roll out dough and place the “food” for cool photo ops.

IMG_20180816_142339_773.jpg
Our “dumplings and spring rolls” are complete!

One of our previous kits involved making candy “sushi.” We had fruit roll up “seaweed” and even had to make salmon roe! As different as all the dough and liquids looked (at least in that previous kit) I was amazed that all the elements tasted the exact same! This time, the “broth” in the ramen did have a different flavor.

IMG_20180816_142339_774.jpg
Dropping in our “ramen noodles”

I’m always transfixed at the chemical reactions that obviously take place when you make these kits. I will be the first to say that I don’t understand how they work, but they’re pretty cool to watch!

IMG_20180816_142339_776.jpg
Victory!

IMG_20180816_142339_771.jpg
Trying out the noodles

IMG_20180816_142339_780.jpg

IMG_20180816_142339_765.jpg

The first time I saw these kits, I believe it was on youtube. I happened across them in a local Asian market here in Knoxville, and decided to give one a try. I’ve even ordered them off Amazon. They are generally pretty reasonable at around $3-4 per kit. Here is the link to the Sushi Kit on Amazon. So far, we have made the sushi kit, an ice cream kit, a doughnut kit, and this ramen kit. The Sushi and Ramen kits were our favorites by far. They were more intricate and took longer to make. I will say that some of the parts are small and therefore not for tiny kids. As always, watch your kiddos closely while they do this. I read the instructions and let Neyland mix the water and powder. We form the shapes together, but I’m sure that an older kid would have no problems with doing that part alone.

*Disclaimer* I am SURE the nutritional value in these kits is zero. Keep in mind that they are candy, and should be used as an occasional treat.

Have you made a Poppin’ Cookin’ set before? Which is your favorite?


Activities, Parenting

Rainbow Flowers

RainbowFlowers

This week has been pretty busy. I had to finally embrace the whole “being thirty” thing, but it has been great thus far. Neyland and I did a lot of fun projects this week. She was a particularly good girl this week and worked really hard on all her homework, chores, and even memorized several scriptures from church. In return, we had a lot of fun outings and activities to reward her excellent work. For “Science Experiment Tuesday,” I pulled an old project out of my hat from when I was a kid. We decided to make rainbow flowers!

This experiment is one more geared toward preschoolers and older kids. The experiment isn’t instantaneous, and therefore won’t hold the attention of younger kiddos. Neyland is really into wanting to know how things work, so it was a great demonstration for her. We started off with a trip to Grandma’s flower shop to pick out the flowers for our experiment. The type of flower isn’t super important. We chose some daisy poms because they hold up well at room temp, and are overall, pretty resilient. Some of the more delicate flowers may wilt after a few hours. The big thing is to (obviously) get WHITE flowers so your little one can observe the color change.

0814181251a.jpg

We also got three different stems of daisy poms. Each stem has multiple flowers, so we would get to see more action.

Next, pull out your food coloring and a few glasses of water. I let Neyland choose what colors we would make in each glass. It was also a good way to review which colors can be mixed to form other colors. She chose to make: Purple, Blue, and Green.

0814181250.jpg

0814181254a.jpg

0814181255.jpg

0814181255a.jpg

We mixed up the colors, trimmed excess foliage off the stems, and then finally snipped the stems to freshen the ends. One trick to note is that the shorter you trim the stem, the faster the experiment will yield results. The colored water has a shorter distance to travel. Also, by getting rid of the excess foliage, you limit other areas for the colored water to be carried to. After cutting the stems and placing them in the water, we set them near the window.

0815181946a.jpg

Within an hour or two we were already getting visible results! We used this to discuss how plants draw up water and use sunlight to make energy and grow! It was an exciting thing that she got to check on for the next few days. Our “blue” flowers yielded the best color. The green was very subtle and not easily noticeable.  The purple was very interesting. It yielded some purple spots, some red, and some blue. For whatever reason, the colors separated back out somewhat.

This is a super easy and cheap experiment to recreate at home! Even if you have never done it before as a kid. You probably have food coloring in your pantry, and you might even have some white flowers growing out in your yard! Get out there and have a great time with what you have!

Rainbow Flowers

Supplies

  • White flowers (that remain sturdy at room temp) – Rec. carnations, daisies, poms
  • Variety of food coloring
  • Glasses
  • water

Directions

Fill the glasses 3/4 full of water. Color each glass of water with a different color using the food coloring. Trim excess foliage from the flowers and snip the end of the stem before placing it in the water. (Snip the stem IMMEDIATELY before placing it in the water) Set the glasses in a sunny spot and monitor them periodically for changes. You can keep this experiment going for a few days! Just remember to trim the stems on your flowers fresh each day to maximize the amount of water they take in!