
It’s no secret that I’m OBSESSED with the holidays. This time of year, I look for any excuse to merge my every day life with the upcoming holidays. I also find myself being insanely busy! I try to squeeze in so many fun fall activities (because it IS my favorite time of year) that I literally would fall apart without my google calendar to keep me straight!
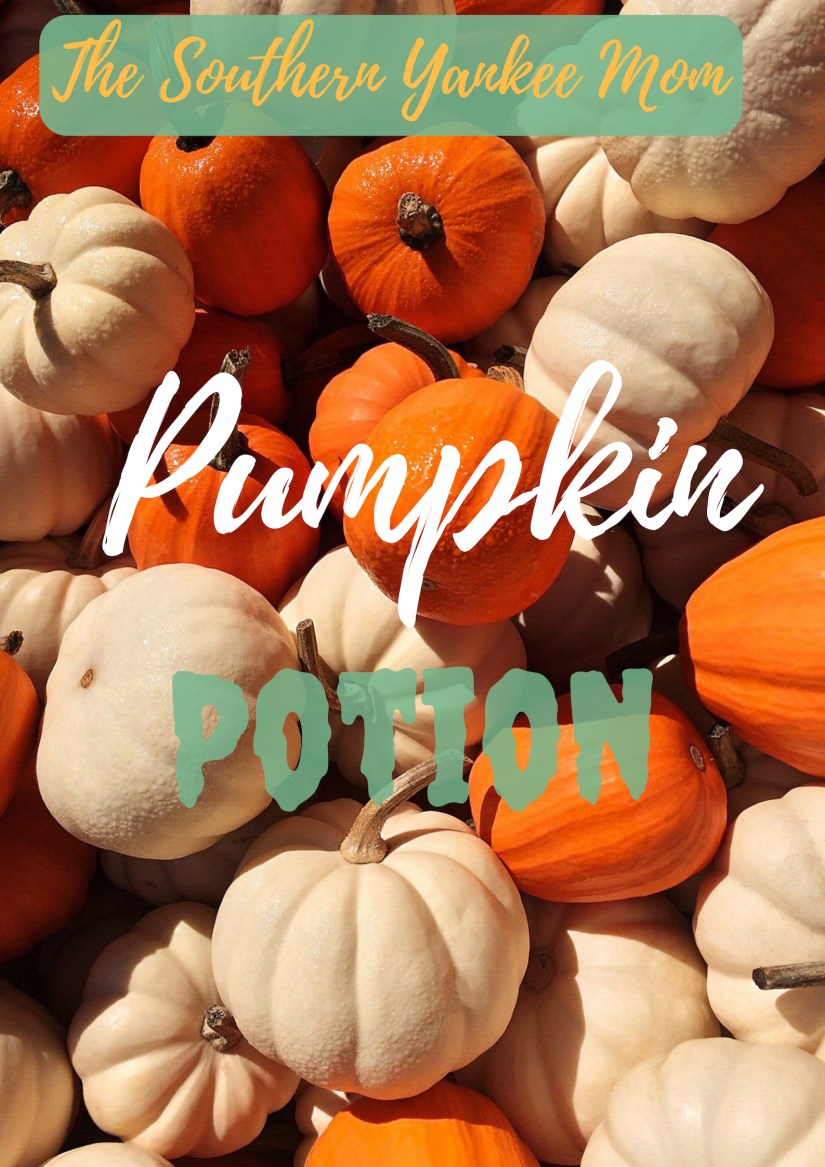
This week, for our “science experiment Tuesday,” I merged Science with fall for this super fun pumpkin potion experiment. This is a classic experiment with a fun fall twist that is entertaining for all age groups. I did this activity with a few kiddos of different ages this week, and all were pretty thrilled with it.
The good news? You probably have most of this stuff hanging around your house already. Simplicity is definitely a plus for busy Mamas! So what do you need?
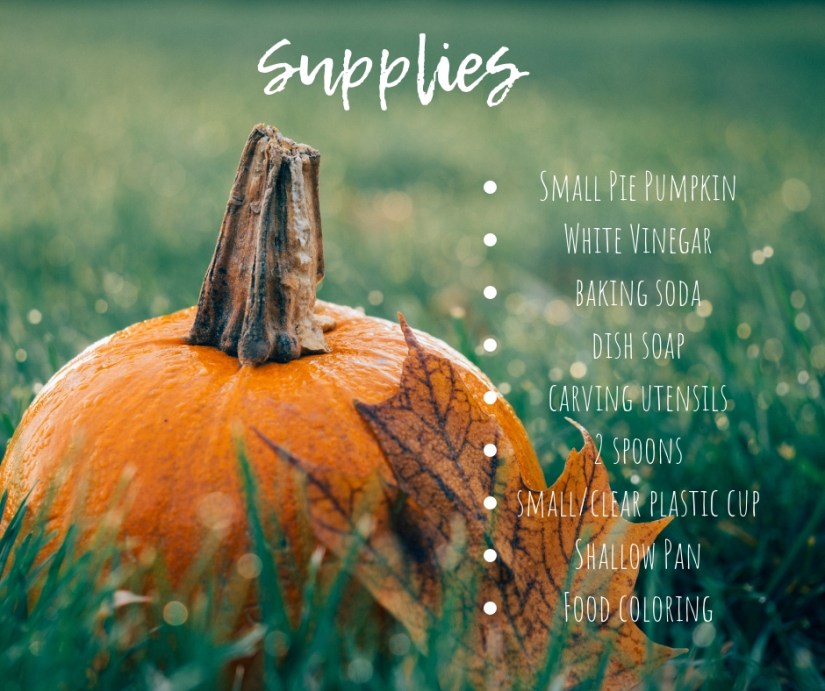
Step 1
You’re going to channel all of your inner fall energy and carve your adorable baby pumpkin! You can carve any design that you like. I chose to put a traditional face on our pumpkin, but I would say that any design that features many small shapes or holes would be super fun. We also used this time to play in pumpkin guts….because it just has to be done, and sort out all the pumpkin seeds for baking!


I used a cleaning pan to do this entire experiment in to contain the mess. I would HIGHLY recommend that you do the same!


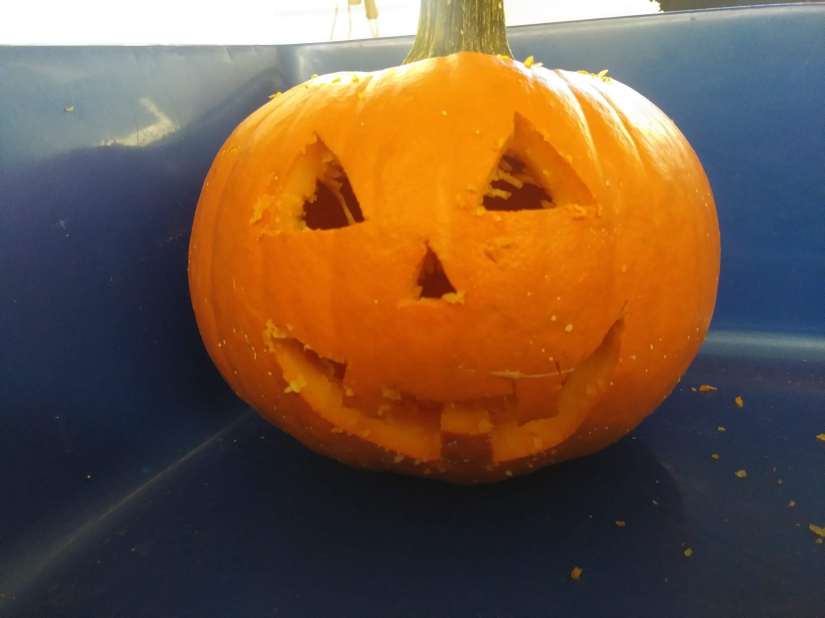
A happy little pumpkin face!
Step 2
Now that your pumpkin is carved, it’s time to get to work on the potion. The potion is a super simple science experiment that involves a bubbling reaction when you combine vinegar and baking soda. To make it more visually exciting for the kiddos, here is what I recommend.
Get a small/clear plastic cup that can be cut to fit into the pumpkin. This cup will hold the ingredients for the reaction….ya know, since our pumpkin has face holes.
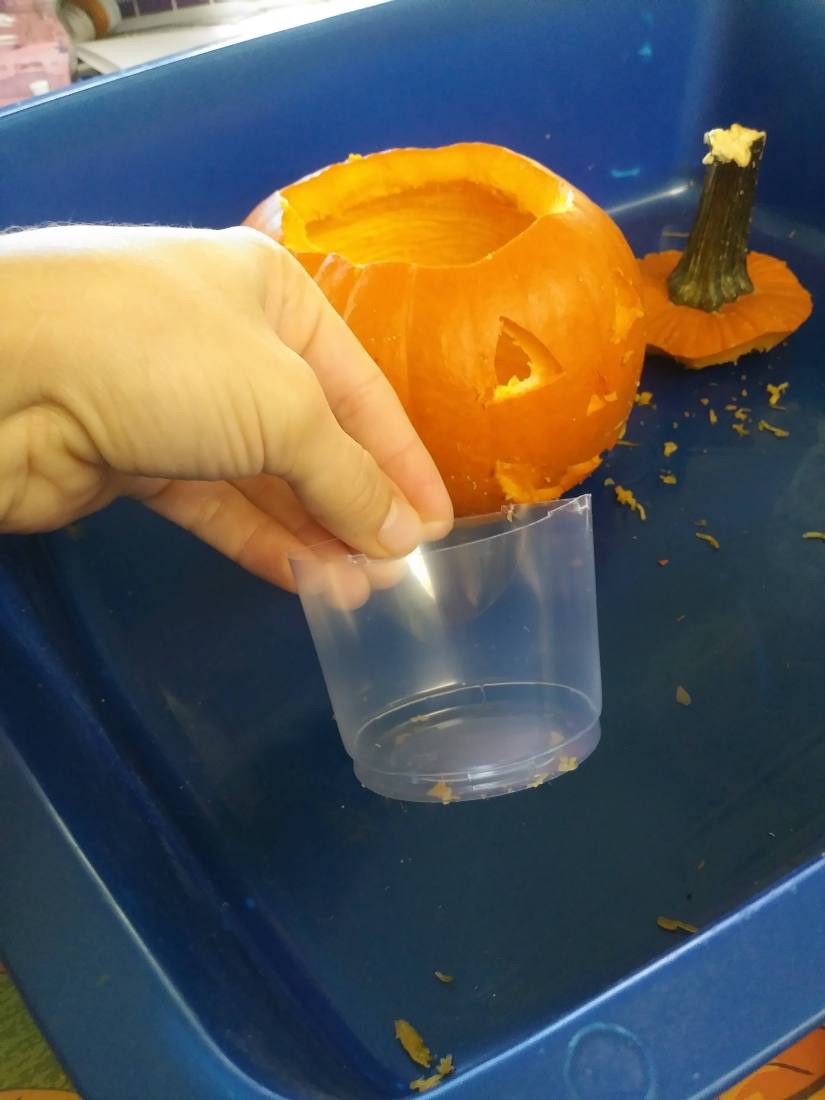
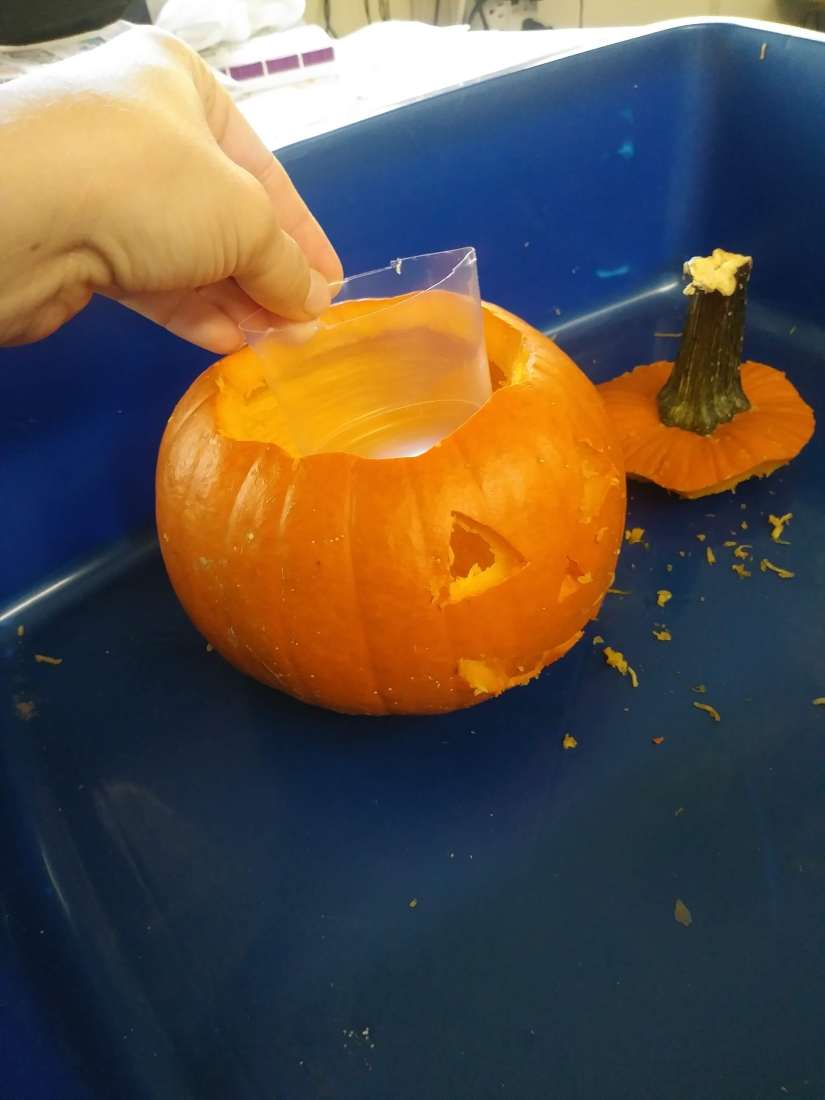
Make sure that it can fit inside without much extra space, but ensure that the lid of the pumpkin can still fit on as well.
Step 3
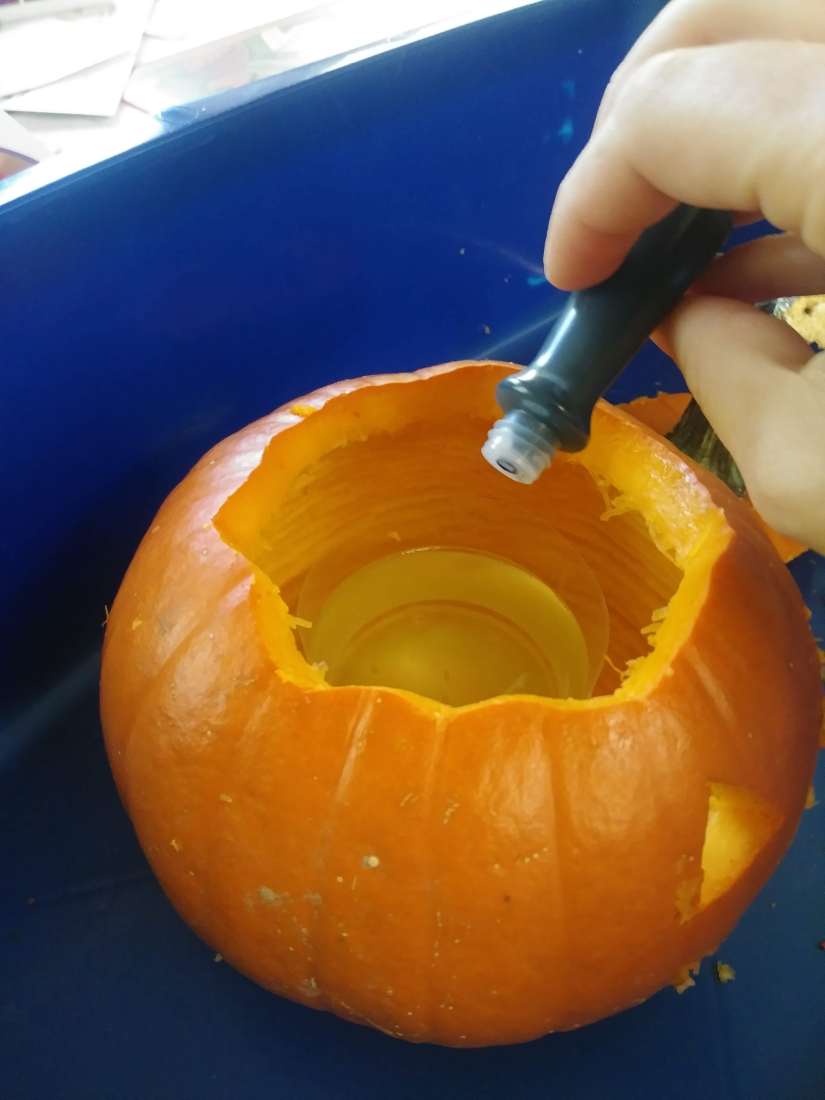
Fill the cup 3/4 way full with the vinegar and set it down inside the pumpkin.
Step 4
This is the time where you can really be creative with your potion. We want to add a good squirt of dish soap so that it will get REALLY bubbly. I also add some food coloring at this point. We generally run this experiment through a few times, so there will be an opportunity to do more than one color. I generally let each kiddo pick one color, or a combination of colors to add. You can also add glitter or confetti stars to make your potion super special. Once you have all your “add ins” in the cup, use one of the spoons (from this point forward, this will be your “wet spoon”) and gently stir the vinegar mixture.
Step 5
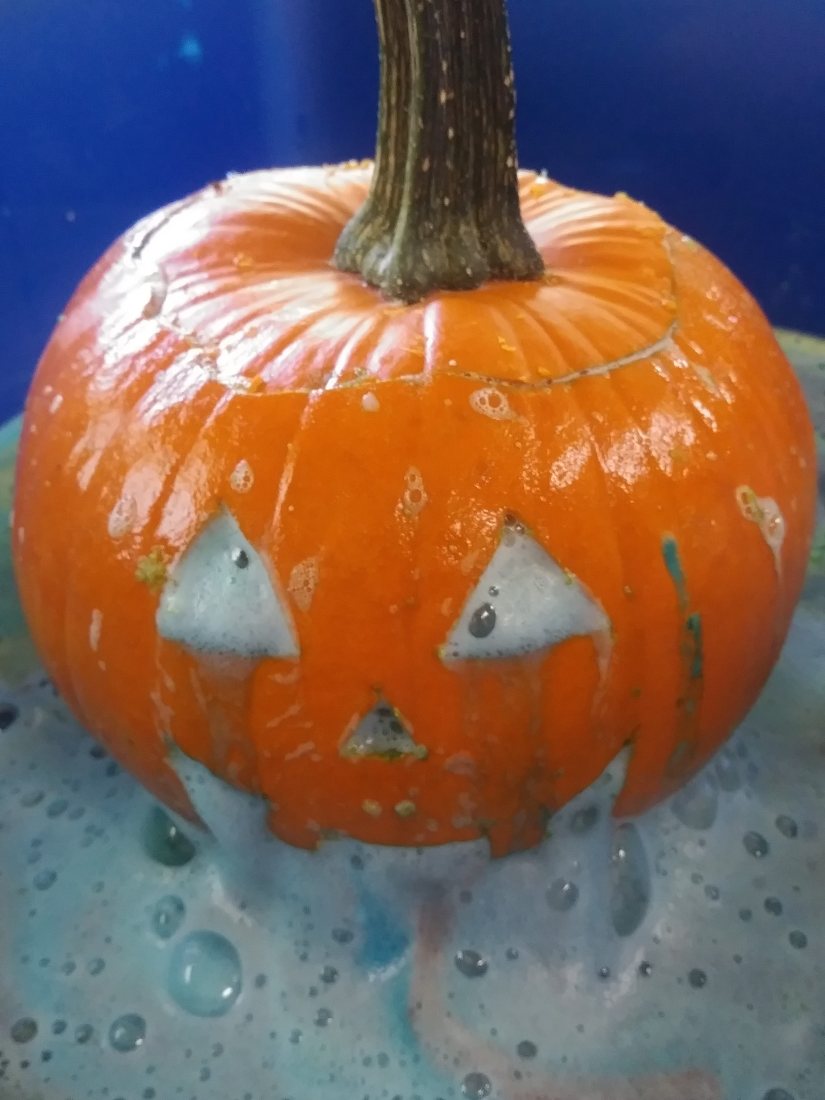
This step is when all the magic happens. I let my little one take control of the “wet spoon” so that she can stir the potion as I add the “secret ingredient” aka baking soda. I use the “dry spoon” and add a heaping spoonful of baking soda to the vinegar mixture and allow Neyland to stir it up for a few seconds before putting the lid on the pumpkin and watching potion gush out of it’s mouth and eyes!
We hope you and your kiddos have as much fun as we did with this! Have any other fun fall activities or ideas?? Drop them in the comments!