


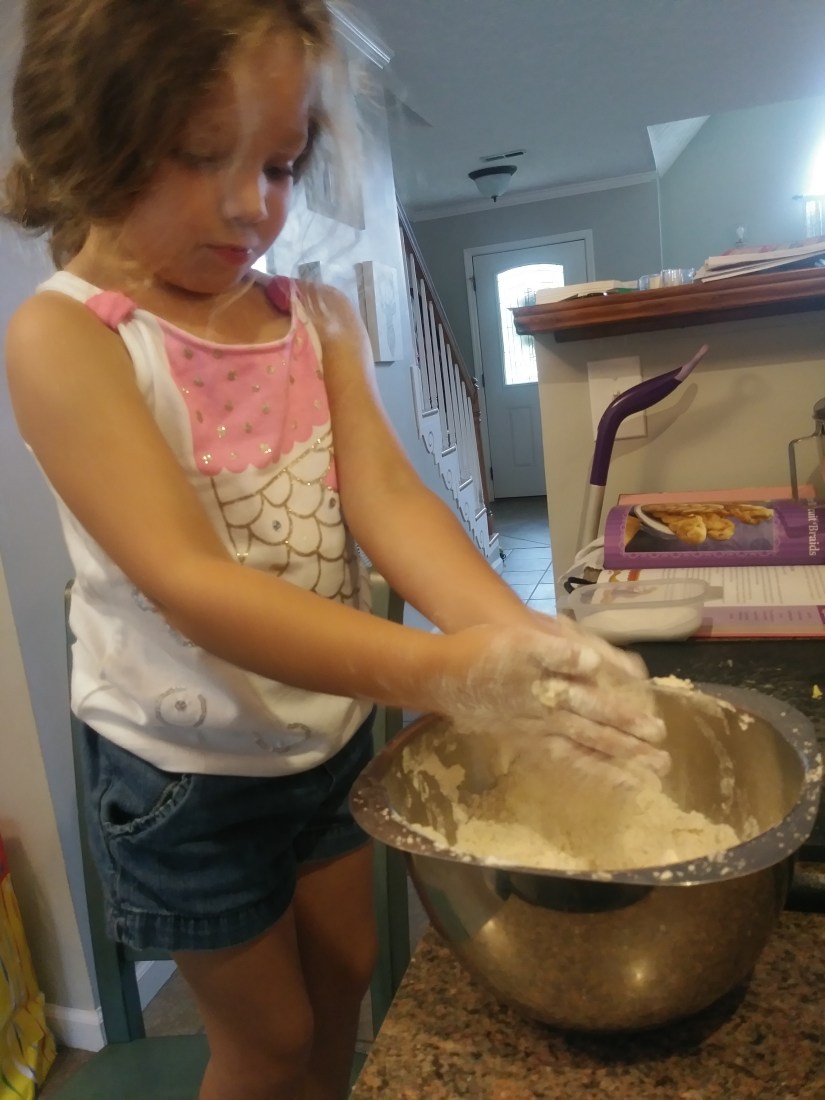
Tuesdays are generally “Mommy + Daughter Days” at our house. We only have one routine commitment, and the rest of the day we spend together. I generally use this time to catch up on housework that I can keep going while playing with my little one. I also do my best to keep a basic routine that she can look forward to. Each Tuesday she can look forward to Science Experiment Tuesday and it is also a night that we try to make dinner together. I want Neyland to enjoy cooking as much as I do, and to be independent and able to cook for herself in the future. She certainly already has the independence part down. She is constantly wanting to help me do the parts of the cooking that still aren’t safe for kiddos her age. To try and help bridge the gap between what she can and can’t help with, I got her some fun kitchen items for her birthday!
First, I purchased her a set of kid safe plastic kitchen knives. I was kind of skeptical about how much they would actually cut, and if they would really be useful. The price was pretty low, so I figured we would give them a try.
You can check out the set I got here.
Before I gave them to her, I ran them back and forth across my hand to see if they were, in fact, skin safe. No issues there at all. Neyland proceeded to try them on several different foods, and they worked great! I even used them a few times tonight, and I was pleasantly surprised. I guess my only gripe is that the 5 colored knives are exactly the same thing, just different colors. I thought perhaps they would have slight differences, but they don’t. I guess I can use the different colors to help teach her food prep safety?
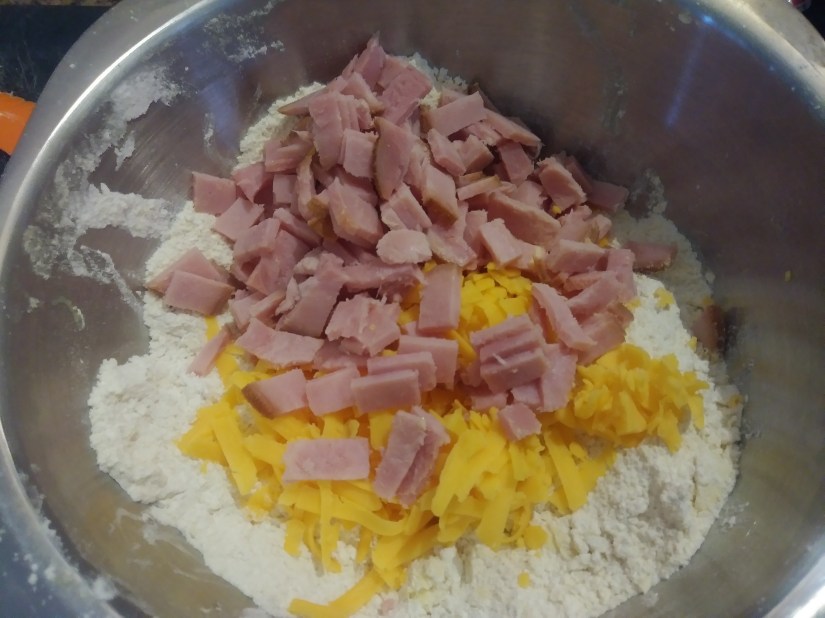
Needless to say, she felt like a pretty big deal getting to use a knife like a big girl. She cut up butter, ham, and some veggies.


I also purchased her a Princess Cook book. I loved the idea that the recipes were simple, and that each recipe is attached to one of the Disney princesses. She was STOKED to flip through the pages and pick which recipes SHE wanted to make. I can tell that she will be more willing to try these recipes, simply because they are tied to a princess. If it gets her to branch out and try new things….I’m ALL FOR IT.
Tonight she chose to make Rapunzel’s Ham & Cheese Biscuit Braids. She helped me from start to finish. She did have a bit of trouble braiding the dough, but who wouldn’t? I found them to be a bit bland for my tastes. Solution: Cover in mustard. Yellow mustard works well for Rapunzel’s magic golden hair anyway, Right??? Lol.


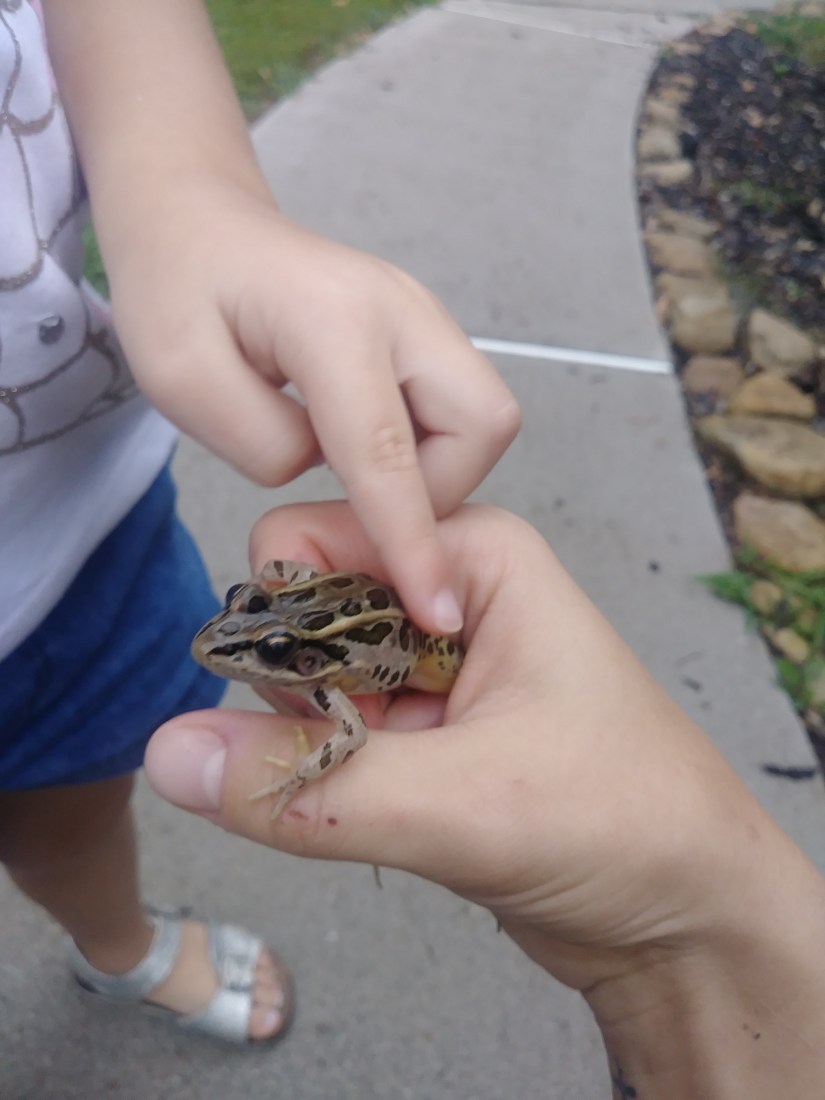
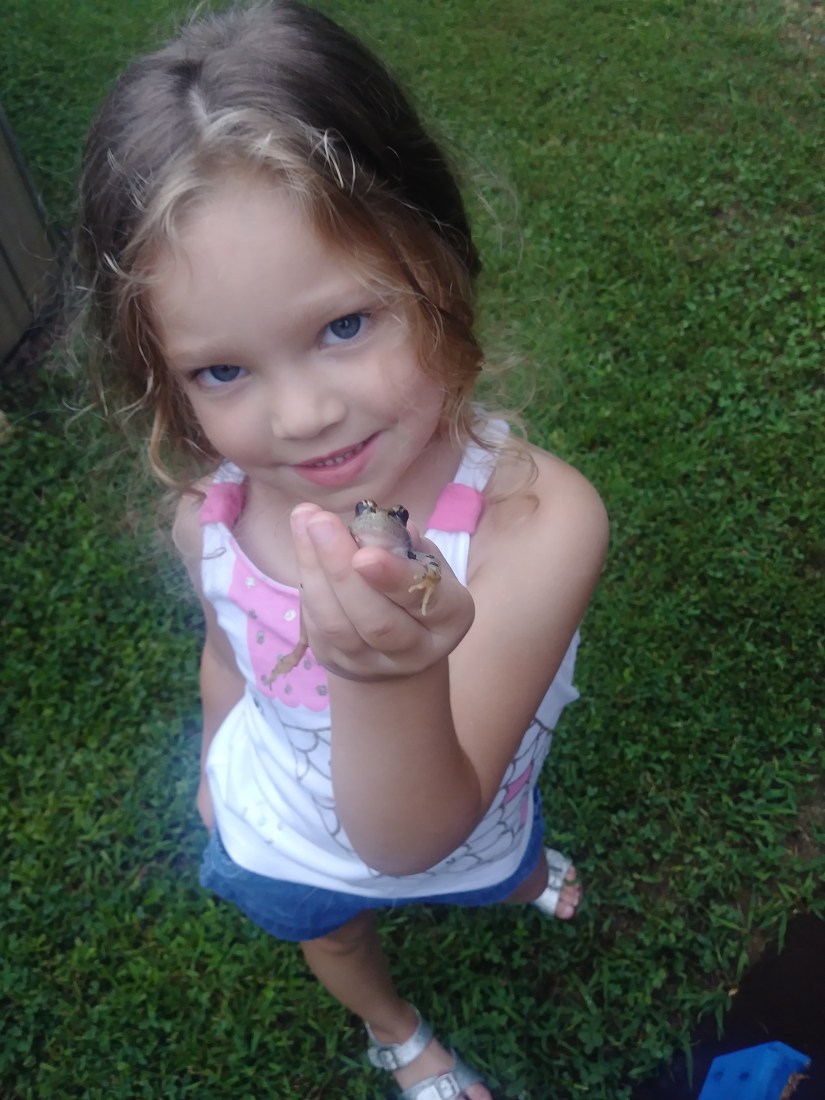
We ate our Princess dinner, watched Tangled (obviously,) and even ended our night with a surprise visit from a prince disguised as a frog. 😉
God certainly has a sense of humor when he graces us with his creation.
A hysterical game of Twister before bed, was the end to another lovely Mommy + Daughter day. Check out the recipe below to make Rapunzel’s Ham & Cheese Biscuit Braids with your little ones!


Ham and Cheese Biscuit Braids:
- 2 cups flour
- 1/2 cup cornmeal
- 3 tsp baking powder
- 1 tsp salt
- 5 tbsp cold butter, cut into several pieces
- 1/2 cup diced ham
- 1/2 cup shredded cheese
- 1 cup milk
Directions:
Stir together flour, cornmeal, baking powder and salt in a bowl.
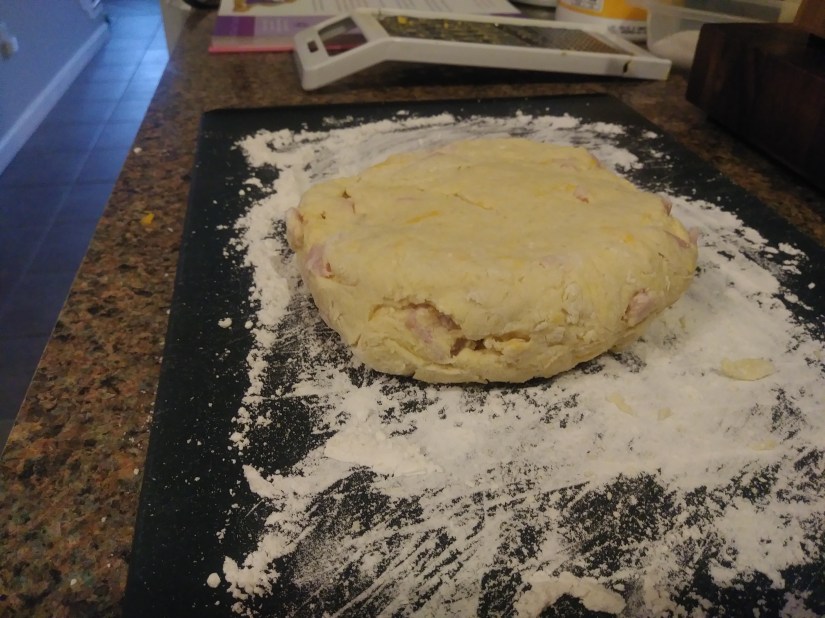
Add milk and work the mixture with your hands until it starts to look like dough.
Sprinkle some flour on a cutting board or counter and place the dough on top. Sprinkle a little more flour on the dough to keep it from sticking. I also floured my rolling pin.
Pinch the strands together at the bottom.
Repeat until all the strips are braided.
Place each braid on a cookie sheet and bake for 8-10 minutes.
*They don’t really turn as golden brown as you’d expect, so check the bottom after about 10 minutes.

Not even kidding, you are one of the best moms I have ever known! It is so obvious how much you adore sweet Neyland and how beautifully motherhood suits you. I hope that one day (if it’s in our cards) to have a child and be a fun mom like this! Teach children to explore, question, enjoy, be independent, let loose in the kitchen, and express themselves through fun outlets like cooking and art!
LikeLike
I love how the whole night ended up being a part of the theme including the cute frog! I wonder if you could add some Trader Joe’s “everything but the bagel” seasoning to the mix to add some flava?
I am going to have to show this cookbook to my SIL because my niece is the queen of “no” when it comes to pretty much any food other than chicken and pepperonis. hahaha
LikeLike